A Guide to Wood-Fired Rotisserie on the Hybrid Fire Grill
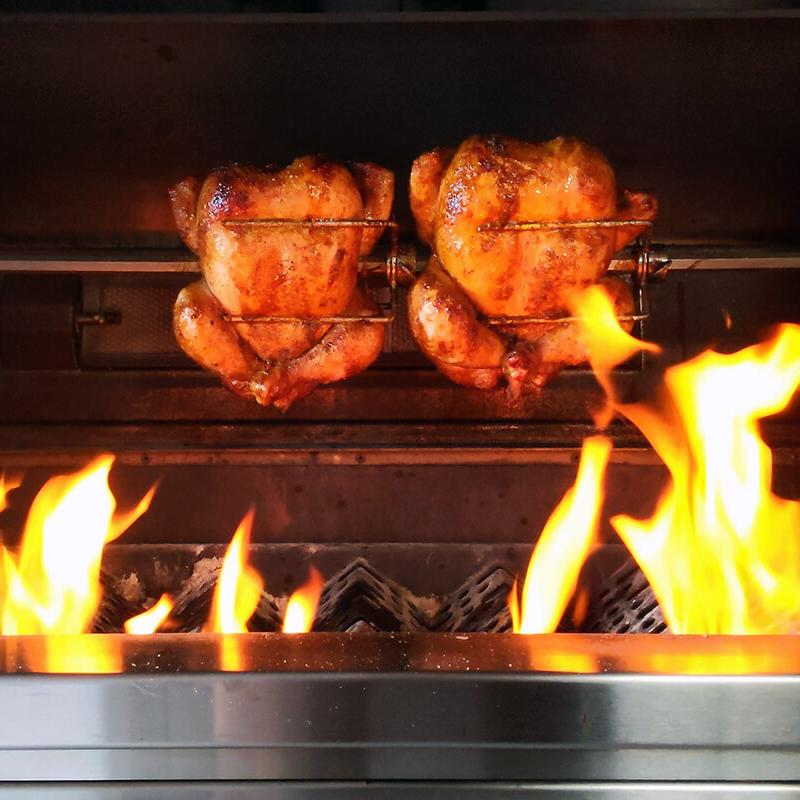
Using wood splits to cook and flavor your food while it spins on the rotisserie is one of the many things that sets the Hybrid Fire Grill apart from other grills with a rotisserie. Setting up and managing your grill for this kind of cook is easy and guests will be impressed as they watch a leg of lamb, a pork roast, or multiple chickens spinning and marinating in their own juices. More importantly, they’ll be blown away by the flavor.
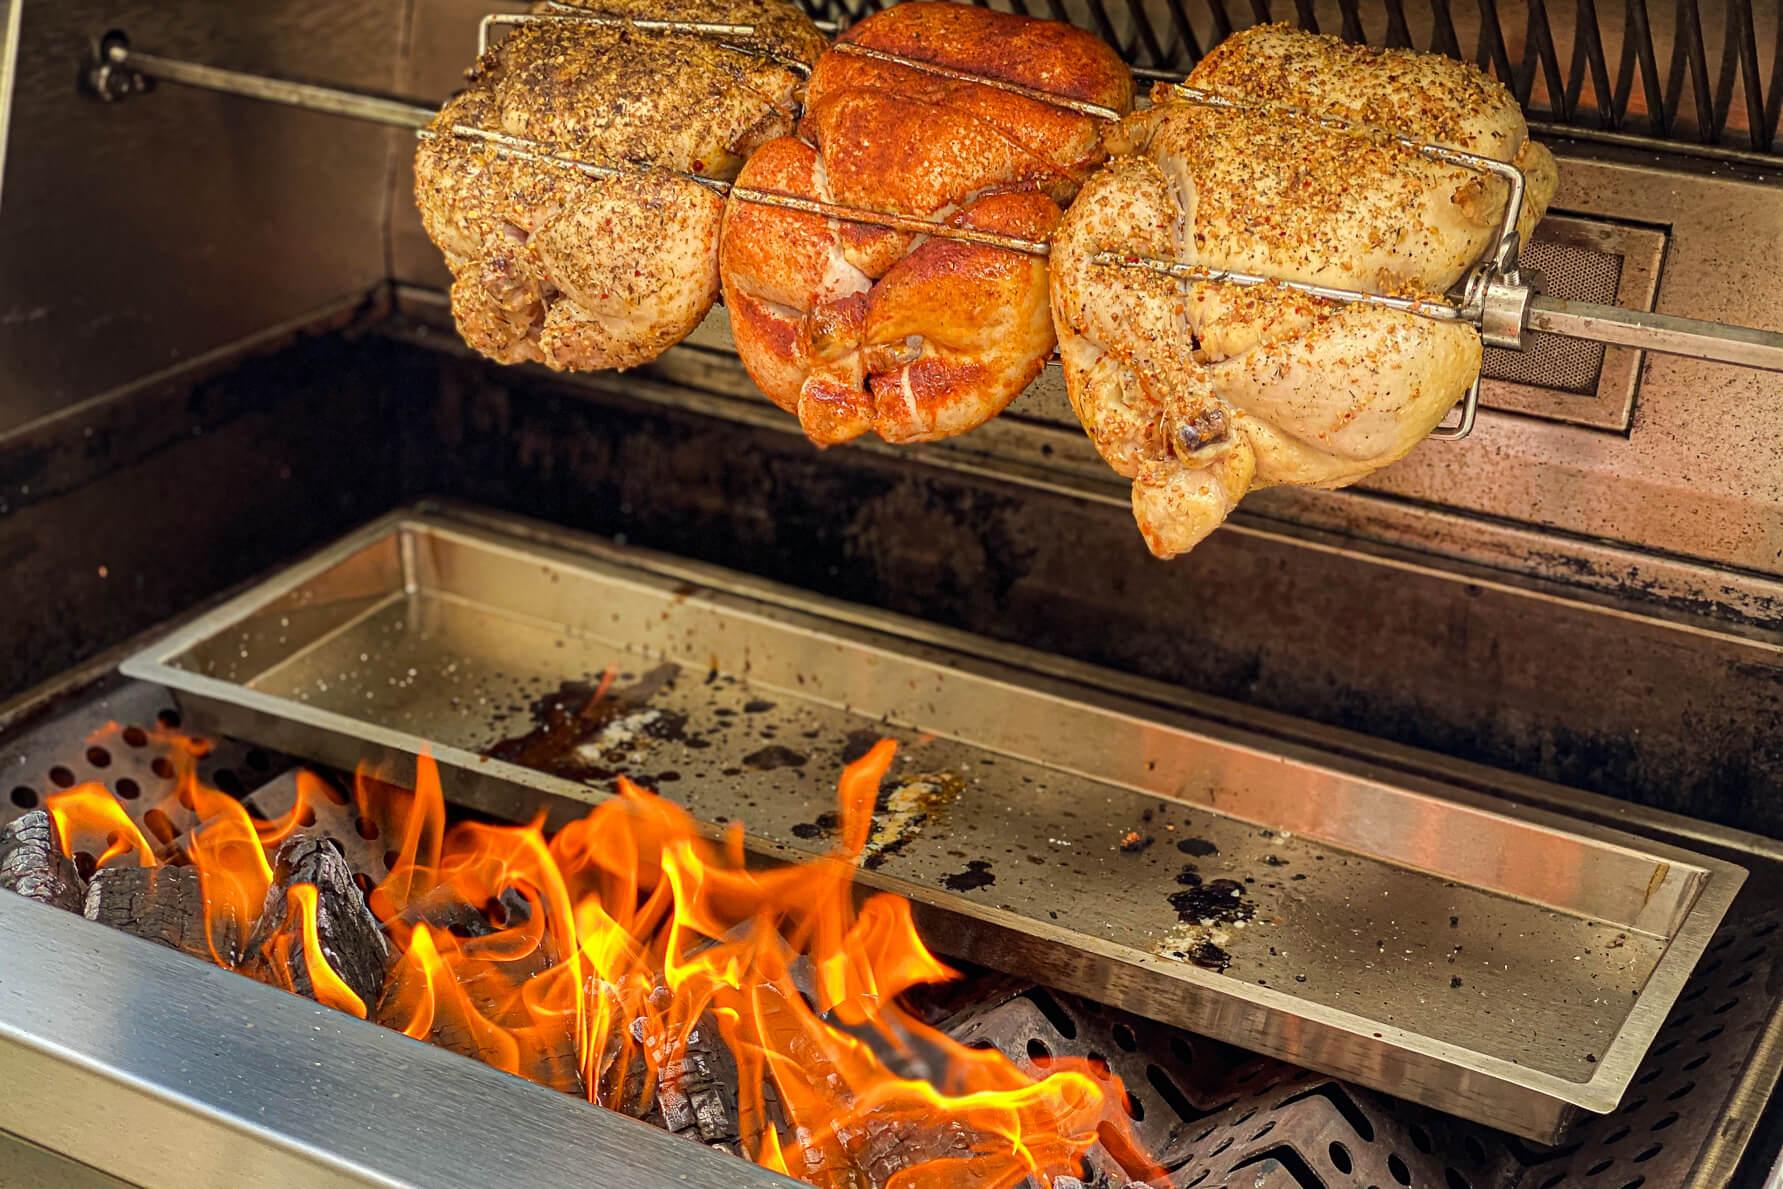
Wood Setup
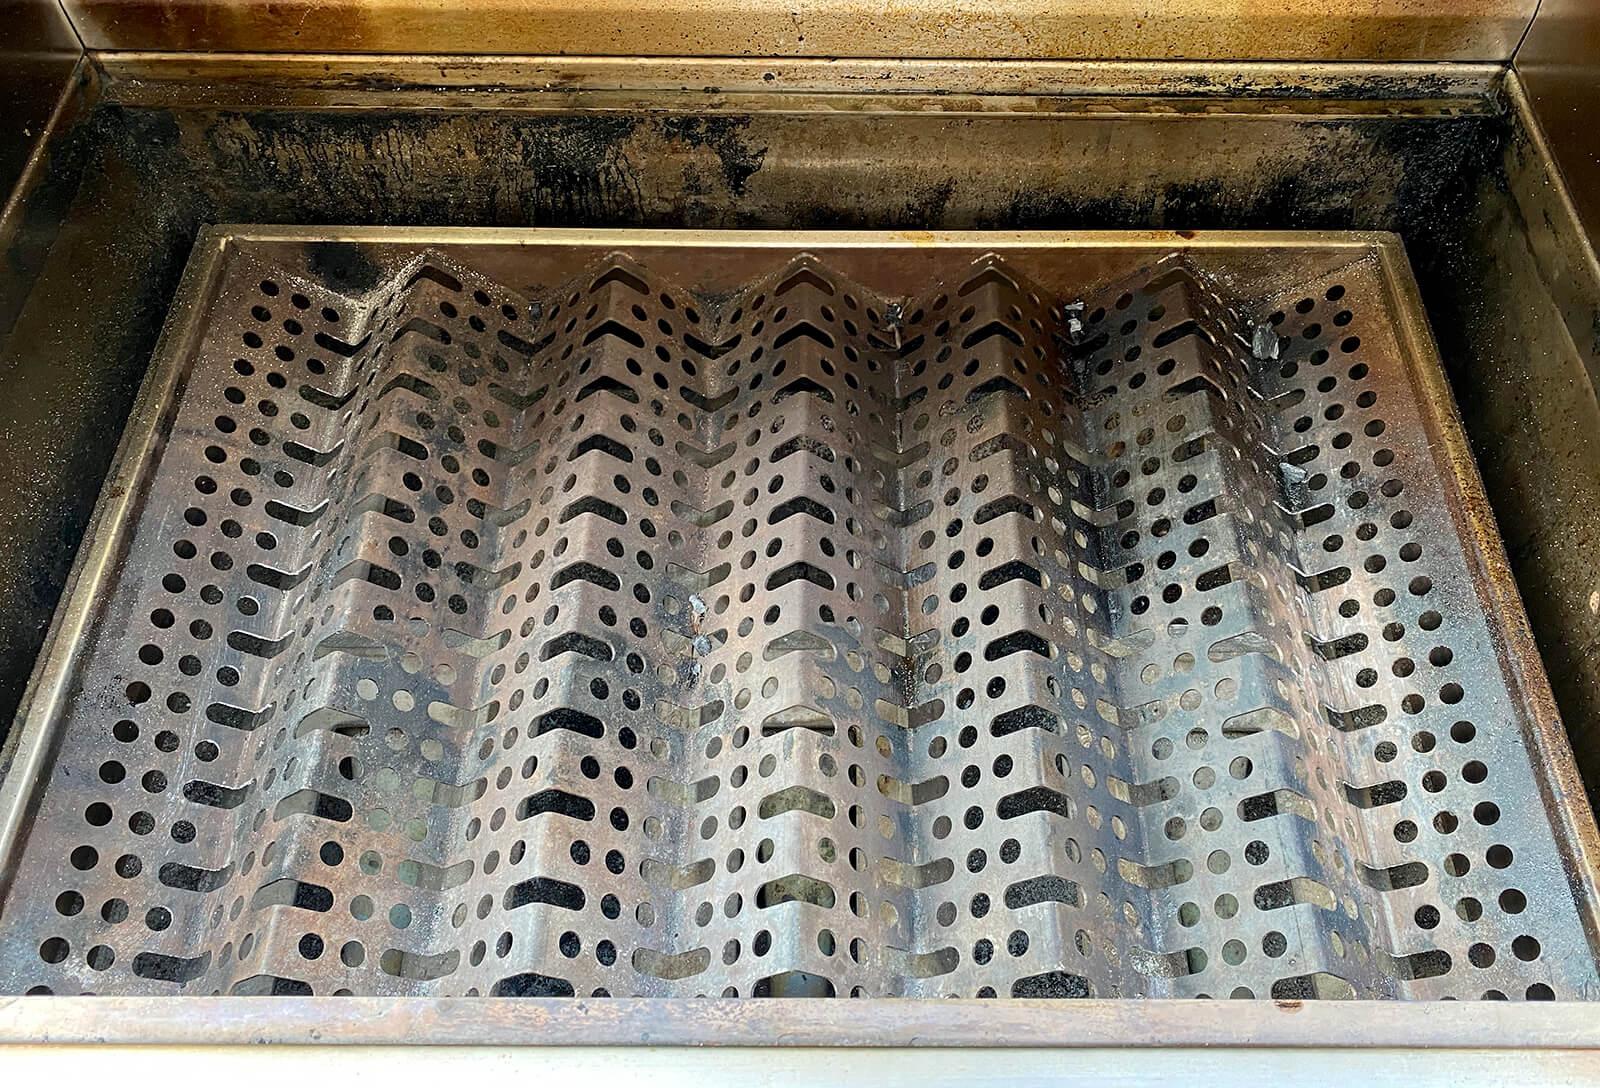
STEP ONE
REMOVE COOKING GRATES
To set up your Hybrid Fire Grill for wood fired rotisserie cooking, start by removing the grill's cooking grates and exposing the grilling drawer channels. Removing the cooking grates makes it easier to reposition the wood splits in the grilling drawer after they start burning.
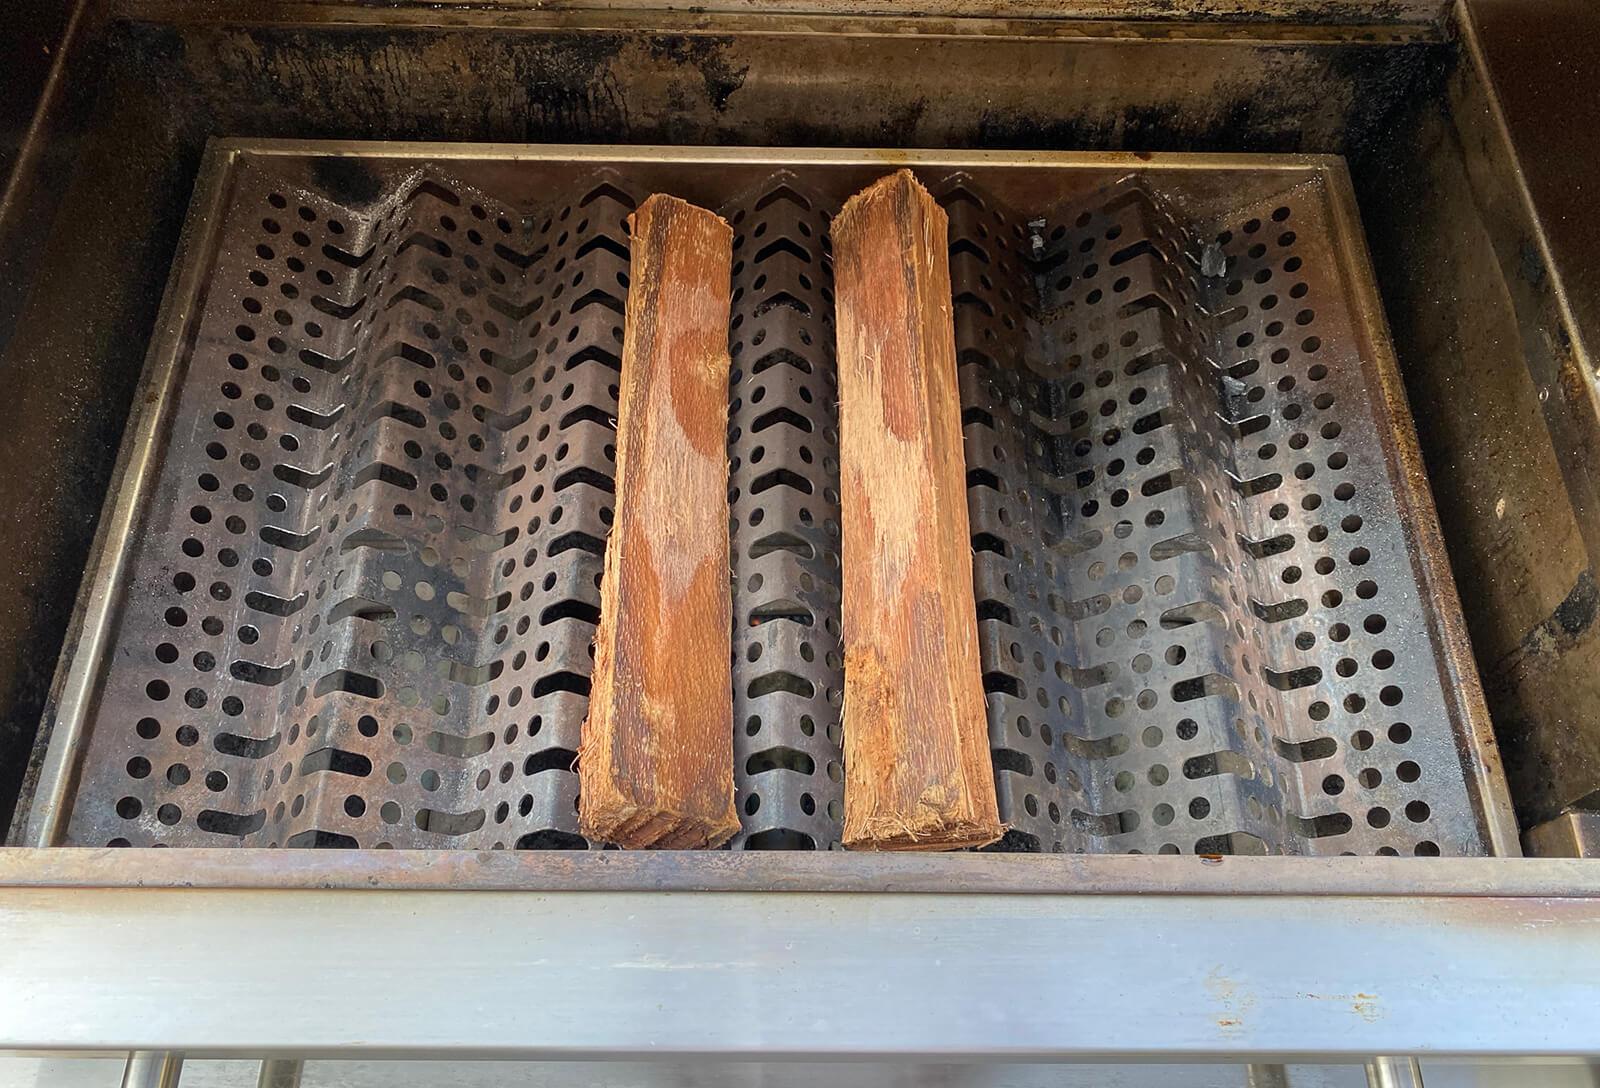
STEP TWO
ADD WOOD SPLITS
Place two wood splits in the grilling drawer channels.
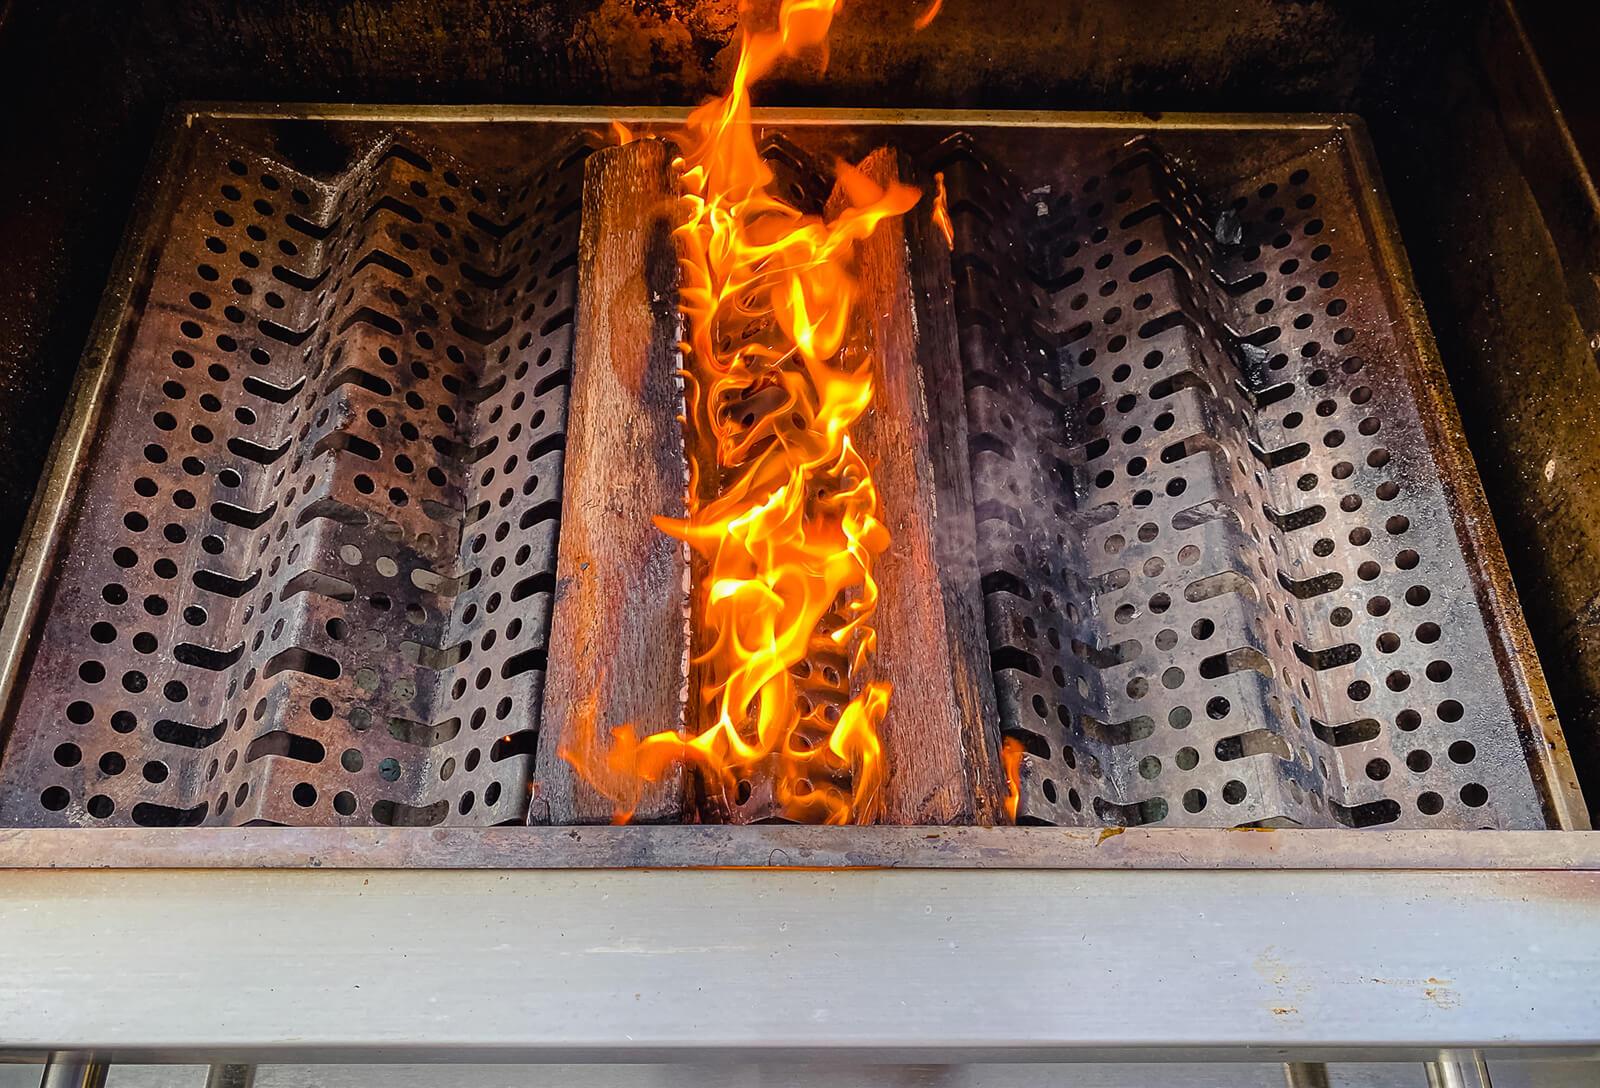
STEP THREE
Start the Fire
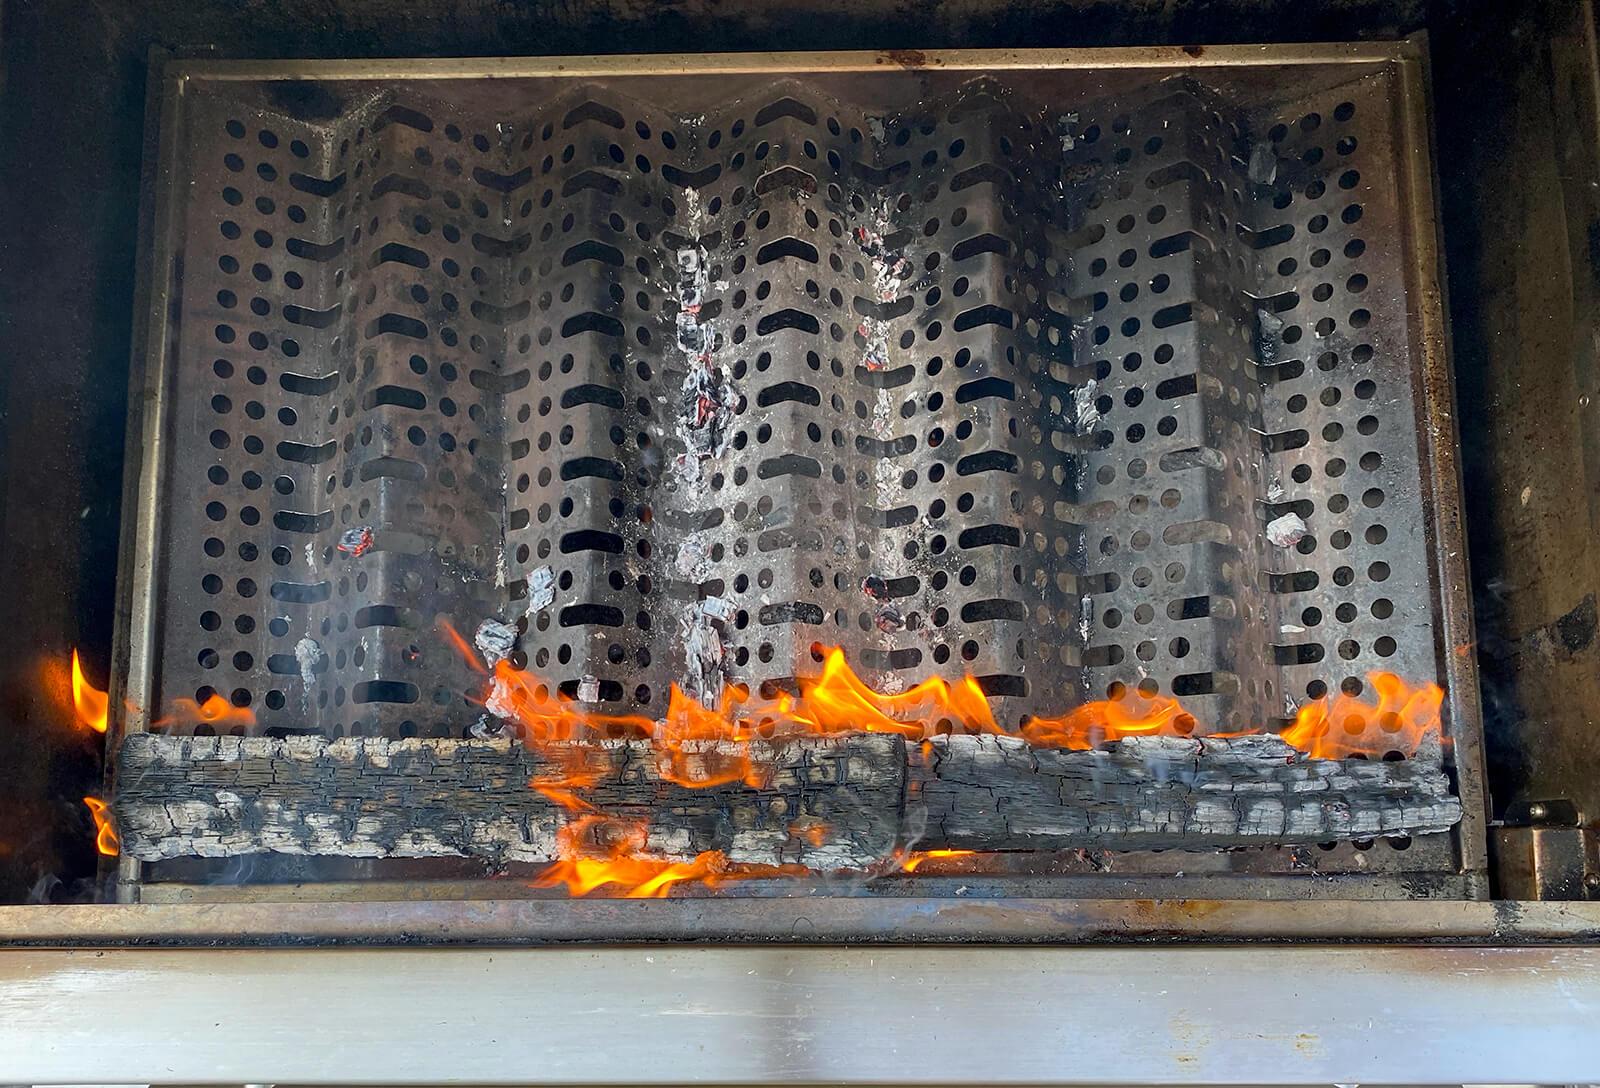
With the wood splits in place, light the grill's ignition burner and adjust it to high. Then, light any main burner that is located under a wood split. Within 10 to 12 minutes, the wood splits should be ignited and just starting to burn.
STEP FOUR
TURN BURNERS OFF AND REPOSITION WOOD SPLITS
Once the wood is burning, turn off the main burners, but leave the ignition burner on high. This will supplement the heat during the cook, and ensure the wood splits continue to burn. Allow the wood splits to fully engulf in flames and start to burn down. Then, wearing heat-resistant gloves and using long tongs, reposition the wood splits along the front of the grilling drawer.
STEP FIVE
SPREAD ASHES EVENLY AND PREPARE YOUR DRIP PAN
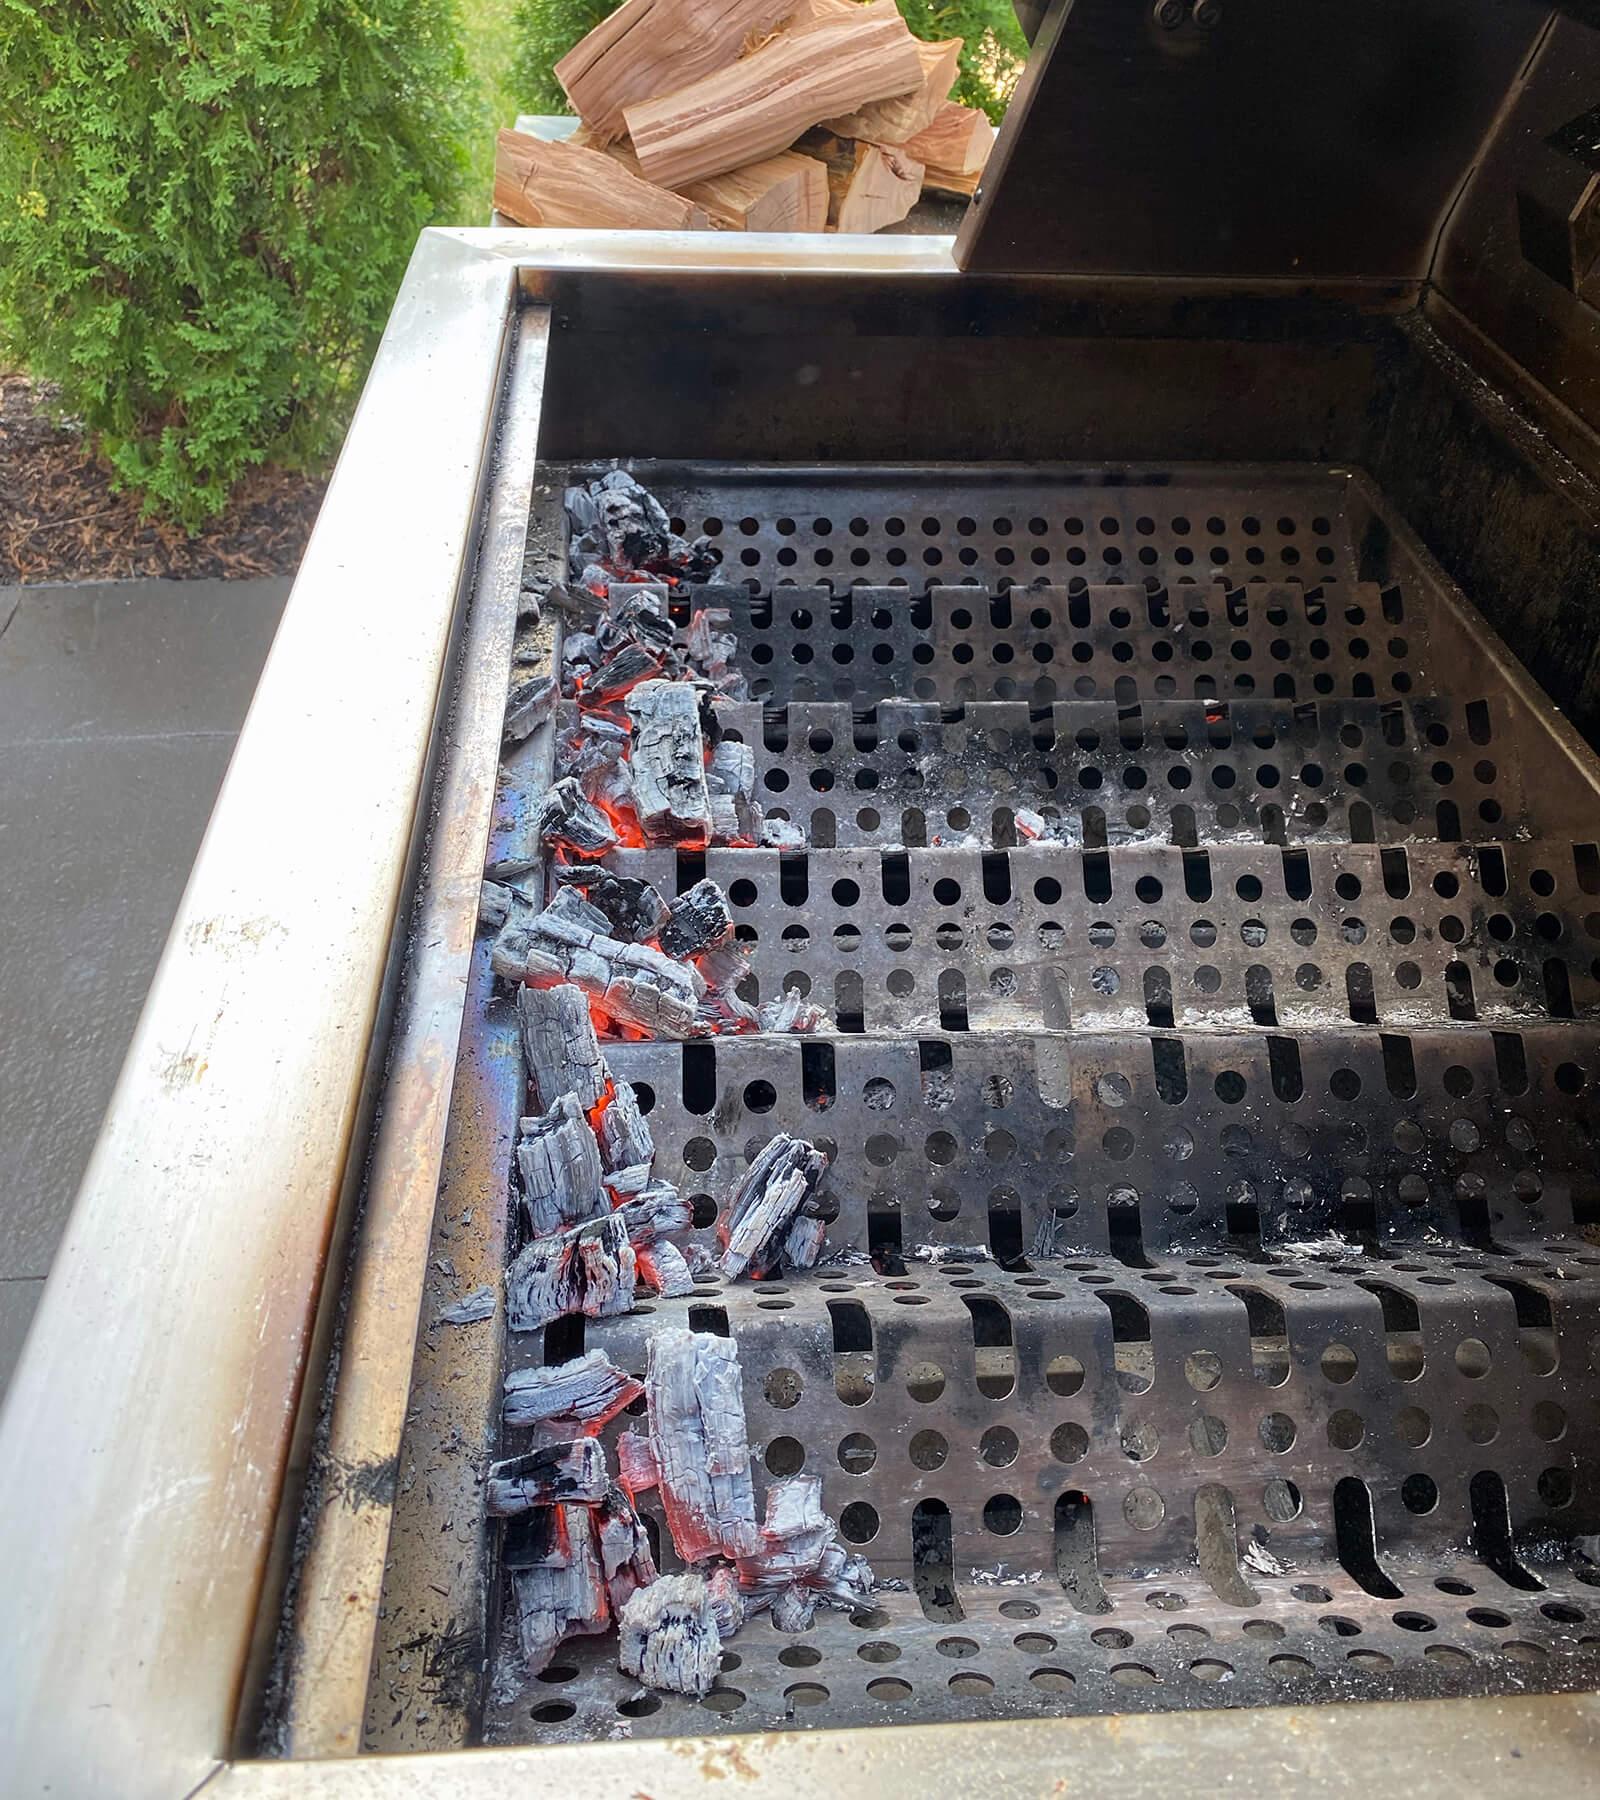
As the wood breaks down into lumps of hot coal, spread them evenly across the front of the grilling drawer. Positioning the coals in this manner will provide gentle and indirect heat for cooking and flavoring the food that’s on the rotisserie.
Caution: Any time the wood is actively engulfed in flame, leave the grill’s lid open.
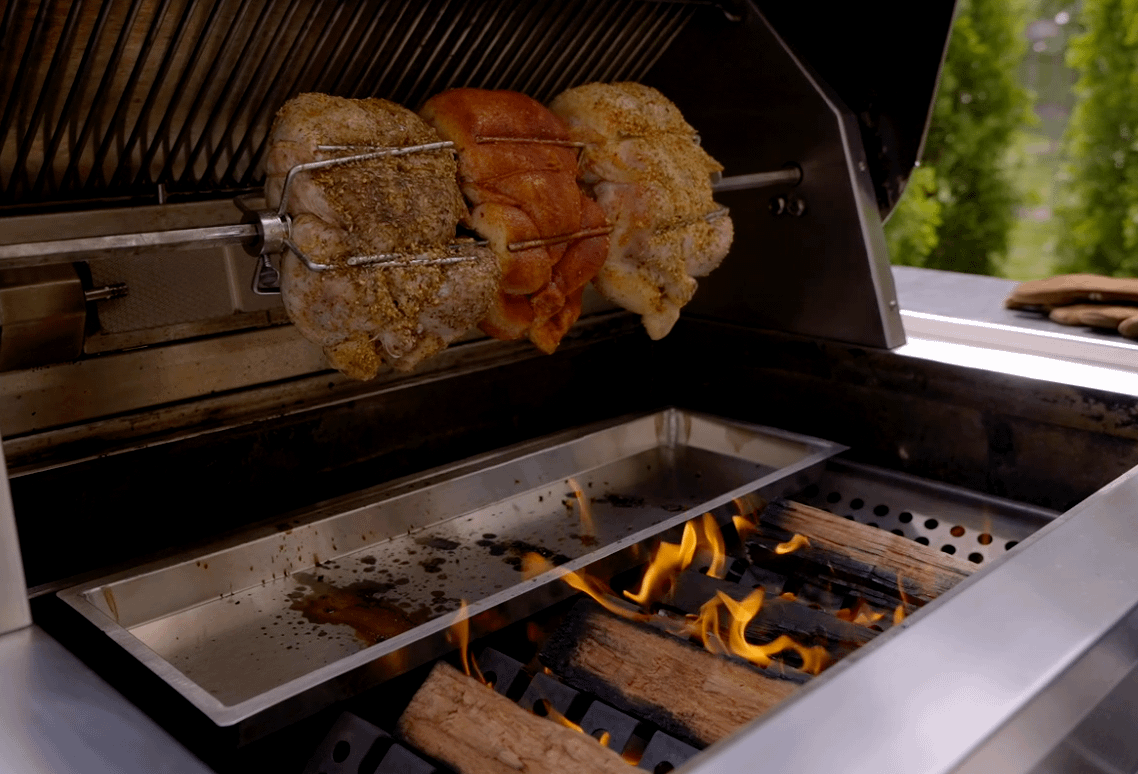
With the coals positioned, wearing heat-resistant gloves, place a drip pan on the channels of the grilling drawer below where the food will be spinning.
We recommend using the drip pan for three reasons: First, it helps to prevent flare-ups from happening when food drips on the extremely hot grilling drawer channels. Second, it helps to keep your grill cleaner. Finally, collecting the food's drippings allows them to be used in the creation of sauces; au jus, for example, when rotisserie cooking a standing rib roast. Stainless steel or disposable aluminum drip pans can be used.
Rotisserie Spit Setup
Insert the Spit into the Grill
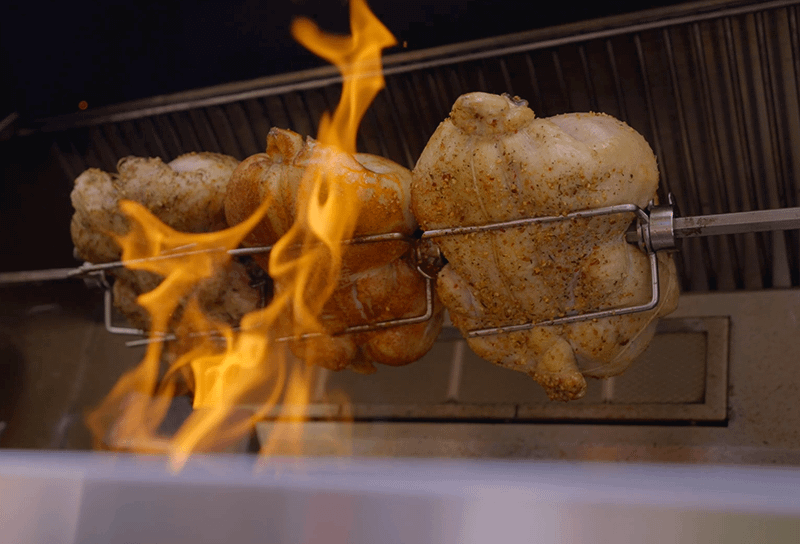
With the wood positioned across the front of the grill, and the drip pan in place, insert the rotisserie spit and turn on the motor. When the active and visible flames have completely subsided, you can close the grill’s lid and allow your food to cook.
Note: You can also cook with the grill’s lid open the entire time. Just be aware that it will take longer to cook and use a bit more wood. This is a nice option when entertaining - friends and family love to watch their dinner spinning over an open fire.
For a Longer Cook
For longer cooking times, additional wood splits may need to be added to maintain desired cooking temperature. When new wood is added and starts burning like below, be sure to keep the grill’s lid open until those new flames calm to a smolder before closing the grill’s lid.
Additional Tips
Gloves: Heat-resistant suede gloves are your best friend when cooking with wood. We recommend them anytime you reposition the wood, add new wood, remove the rotisserie spit or drip pan, or check your food's temperature.
Food Temperature: To check the food's temperature throughout the cook, wait until active flames have subsided. Then, turn off the rotisserie, put on the heat-resistant gloves and use a quick-read thermometer.
Wood Quantity: The amount of wood used will depend on what you’re cooking. For example, if you’re cooking a single chicken, a single split of wood will be plenty. If, however, you're cooking an entire bone in pork loin, use two splits. Ideally, the smoldering wood should be at least the length of the food being cooked.
Get Started with These Resources
