STEP-BY-STEP INSTRUCTIONS TO GRILLING THE PERFECT BURGER.
A great burger is definitely a sign of a great grillmaster. With the right techniques, you can elevate the basic burger to a mouthwatering meal. There are a lot of options for cooking a burger, and each has its place. You can cook an amazing burger on a flat top or griddle. You can have success with low heat or high. But we're going to share instructions for our foolproof method for the perfect burger.
STEP ONE: SELECTING THE BEEF
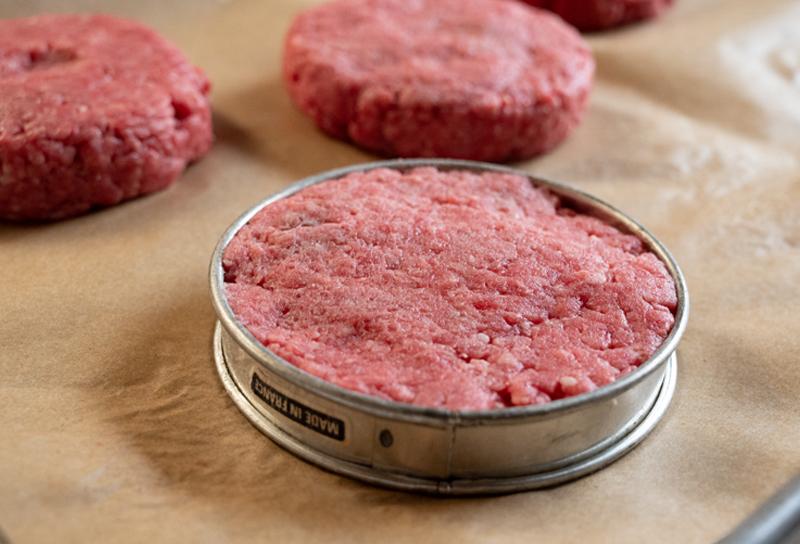
Ground round is our go-to cut, but you can use your favorite cut or blend of cuts. We recommend an 85% lean mixture for the right balance of texture, flavor and juiciness. Select ground beef from the butcher's case whenever you can (rather than pre-packaged on the shelf), and reject any meat that has turned brown or gray. You should always ask to see the underside of the beef the butcher is retrieving from the case.
Try to avoid pre-made patties all together, or take a close look to ensure the texture is loose and the patties were not over-worked or pressed in a mold. Some pre-made patties are sliced from a tube of ground beef. These will typically have a favorable texture as long as the beef is good; and as long as it is fresh and never frozen. An over-worked or compressed patty will result in a burger with a much less pleasing texture.
STEP TWO: SELECTING THE OTHER INGREDIENTS
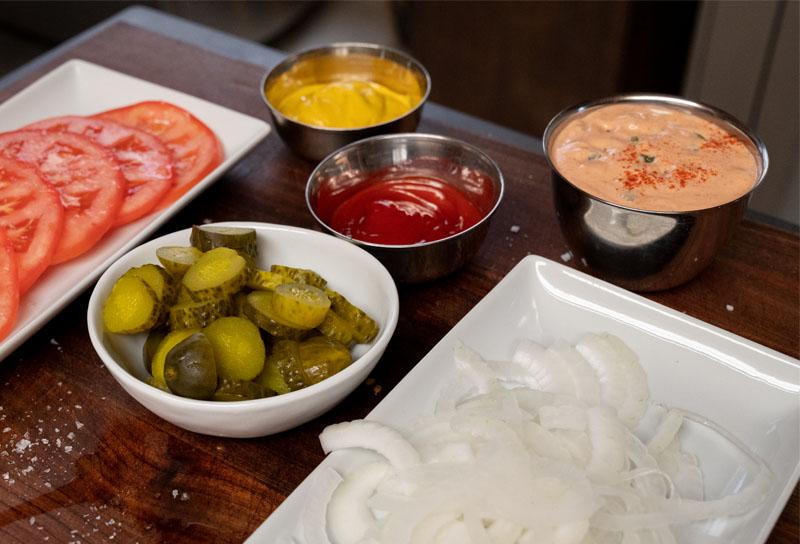
First of all, the bun is almost as important as the beef. Freshly-baked soft rolls are ideal. Make sure they are the same diameter as your finished patties. We also like a quality cheese (try Cambozola), heirloom tomatoes and thick-sliced grilled red onions. Most of the time it should be all about the pure burger experience, but sometimes we like to use fresh guacamole, spicy mustard, grilled poblanos and just about anything else you can imagine — but that is taking us a little off topic.
STEP THREE: PREPARING THE GRILL
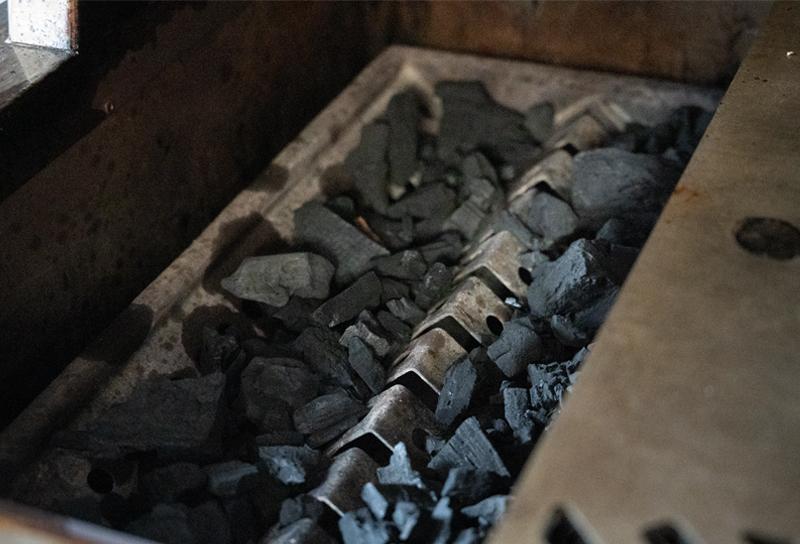
Prepare for direct grilling with two temperature zones. You will want to grill the burgers over a hot fire at 600°F, and you will need a cooler zone around 400°F for toasting the buns; or you can use the warming rack. We believe the dry heat of a charcoal fire delivers the best crust on the outside of the burger, and we strongly recommend a premium lump charcoal like our own Kalamazoo Quebracho Charcoal. No charcoal? You can have great success with a gas fire as long as it is hot enough.
STEP FOUR: PREPPING THE PATTIES
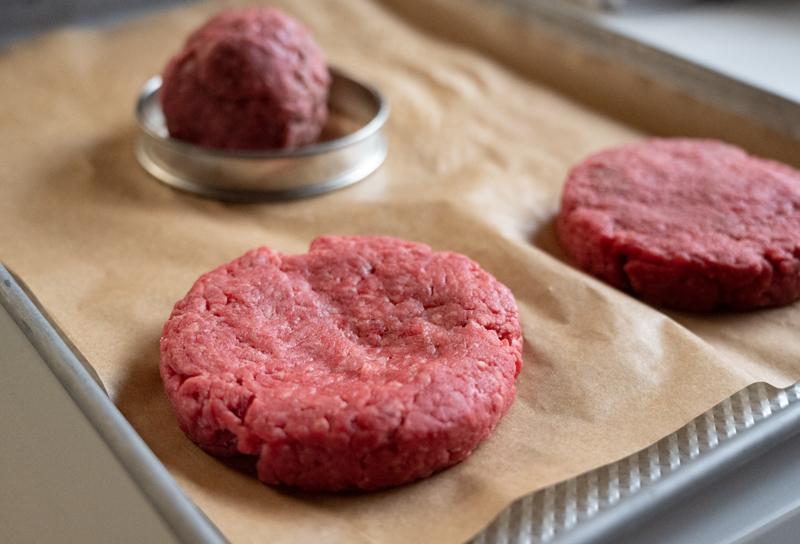
We prefer a 1/3 pound to 1/2 pound patty for the best grilling. This allows us to establish a delicious crust on the outside of the burger while keeping the inside a perfect Medium (160ºF). If the patties are too thin, this is much more difficult to do. Form the patties to 3/4-inch thickness, and 3/4-inch larger diameter than the buns.
As we have mentioned, a loose texture is critical, so try not to overwork the meat as you form each patty. We do, however, need to tighten up the perimeter to make sure the patty won't break apart on the grill. Recess the middle of each patty so that the burgers are thinner in the center than at the edges. The centers should be about 1/2-inch thick while the perimeters remain 3/4-inch thick. When the burgers plump up on the grill, they will turn out flat. (Thank you to Bobby Flay for the tip!)
Brush the patties with olive oil and season liberally with salt. This will aid in forming that perfect exterior crust we keep going on and on about. Let the burgers rest for a while to get close to room temperature.
STEP FIVE: PREPPING THE BUNS
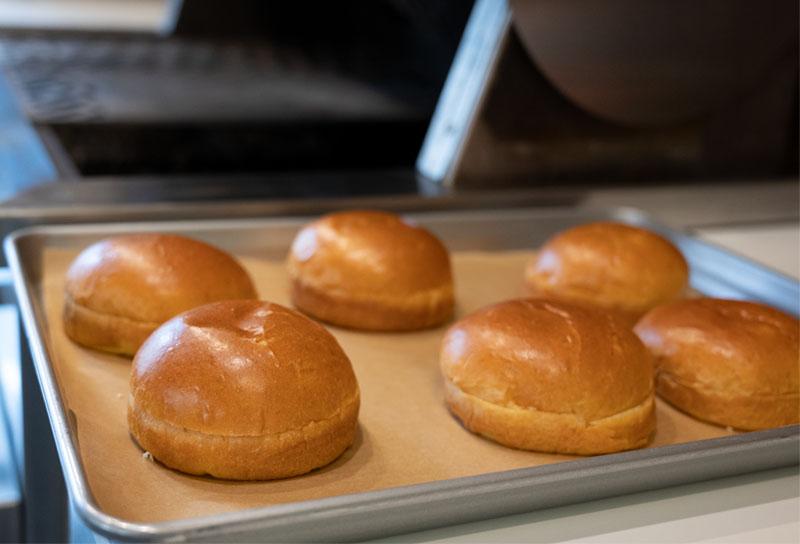
Slice the buns, and lightly brush the insides with olive oil. Season with salt.
STEP SIX: GRILLING!
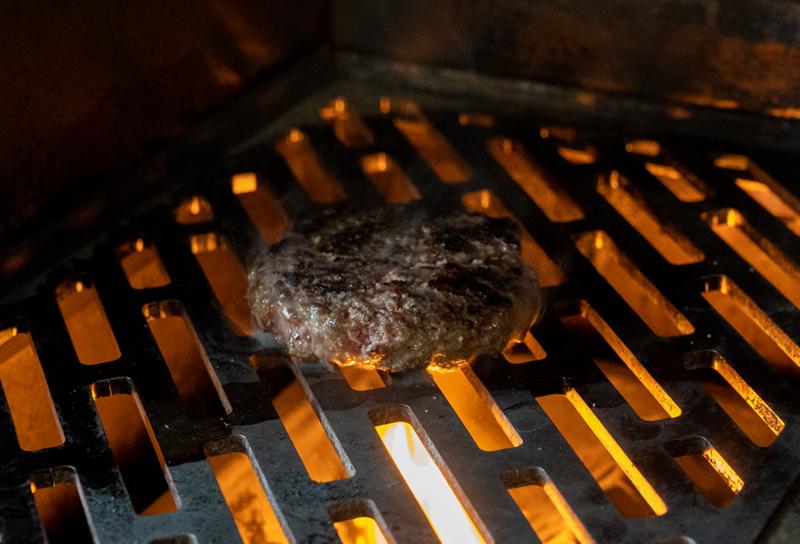
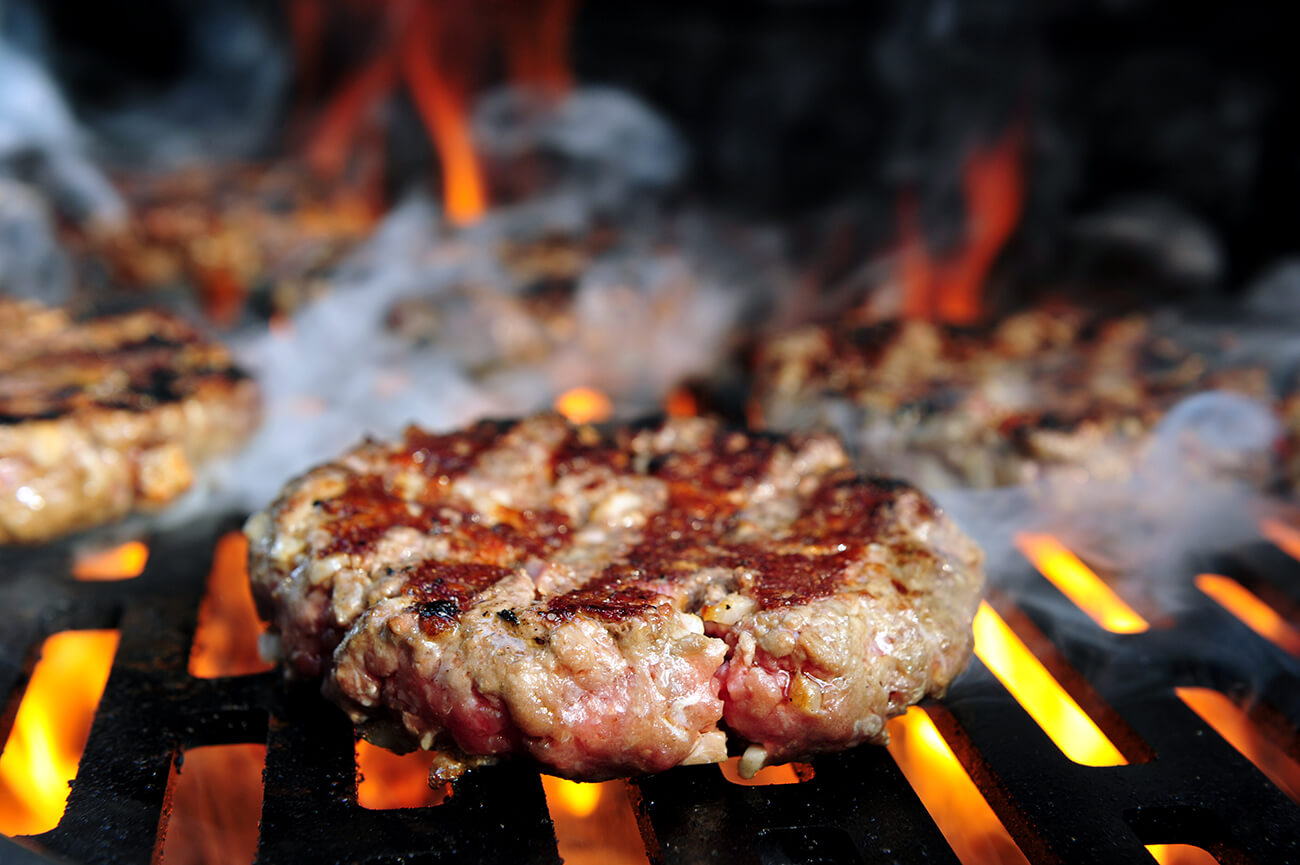
Place the burgers over the hottest part of the grill, and then leave them alone for at least 2 minutes! We want nice grill marks and an awesome crust. That takes some time, and it won't happen as well if the burgers are moved a lot. For crosshatched grill marks, rotate each burger 90 degrees and continue cooking on that same side for 2 minutes more. If everything is going according to plan, you should start to see juices coming to the surface at the 4 minute mark. Flip the burgers and continue cooking for another 3 to 4 minutes, rotating 90 degrees on the grate after 2 minutes.
During the final 1 to 2 minutes, lightly toast the buns directly on the grill grate or on the warming rack. Do not dry them out, or they will make the burger more difficult to eat.
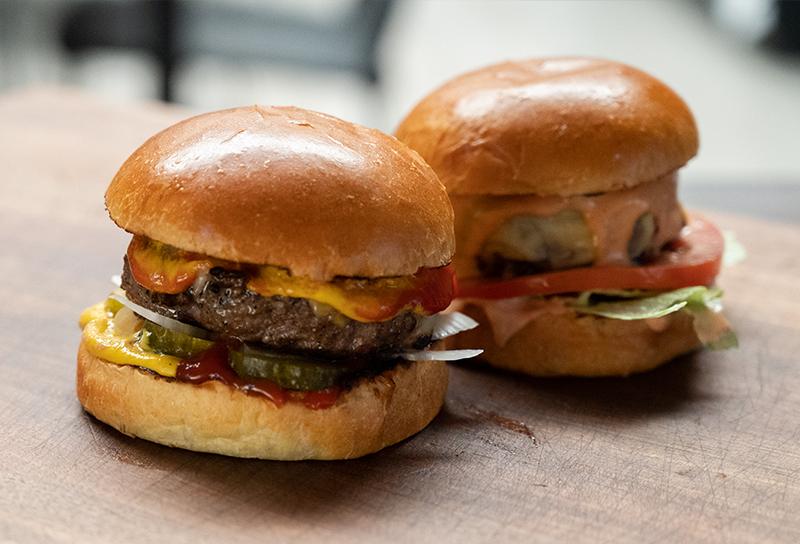
Remove everything from the grill, assemble your burgers and enjoy!
GRILLING BURGERS ON A KALAMAZOO HYBRID FIRE GRILL
While you can prepare a great burger on a gas grill, nothing can beat a real charcoal fire. A gas flame will produce water vapor, making it a relatively moist heat. A charcoal fire is a very dry heat. This dry heat characteristic is more ideal for creating the Maillard reaction — the fantastic crust that is a key part of making a great burger such a distinctive experience. Kalamazoo Quebracho Charcoal provides intense, searing heat with exceptionally long burn times.
Utilize a Kalamazoo vegetable or meat grilling surface in one zone of the grill. The flat profile makes it easier to slide the turner below the burger, and the heavy nature of these grates holds more heat. This holds more heat and makes the burger less likely to stick. Place a full load of charcoal in the Hybrid Fire Grilling Drawer. Fire up the Dragon Burners below the drawer and preheat the grill while starting the charcoal fire. Wait until the coals are glowing, and then turn the burners OFF. Wait for the fire to settle down to between 600 and 700°F. Follow the instructions (at left) to grill the burger.
Additional Tips:
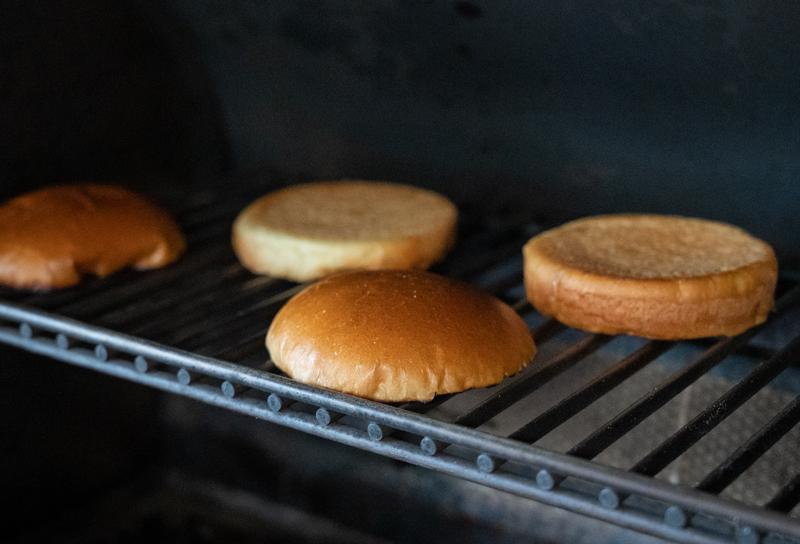
The new warming rack design on all Kalamazoo Hybrid Fire Grills is perfect for roasting onions and toasting buns. Place thick-sliced onions on the warming rack above the charcoal fire immediately after you light the fire. Let the onions roast up there for the entire time the charcoal is starting. Then you can finish them off on the grill grate right before assembling the burgers. This makes for sweet and delicious onions with the perfect temperature — without the risk of burning them. You can also toast the hamburger buns on the warming rack, so you don't need to create a cooler zone in the main fire.

