Low and Slow Cooking on the Kalamazoo Shokunin Kamado Grill
Low and slow style cooking, aptly named because of the low cooking temperatures (usually between 225°F and 275°F) and slow cooking process is synonymous with traditional American-style barbecue. This style of cooking allows for the gradual rendering of fat and connective tissue breakdown that results in extremely tender and juicy meat.
This guide will give you tips on everything you need to know to cook low and slow in your kamado grill; from setting up the grill and lighting the fire, to specific vent adjustment.
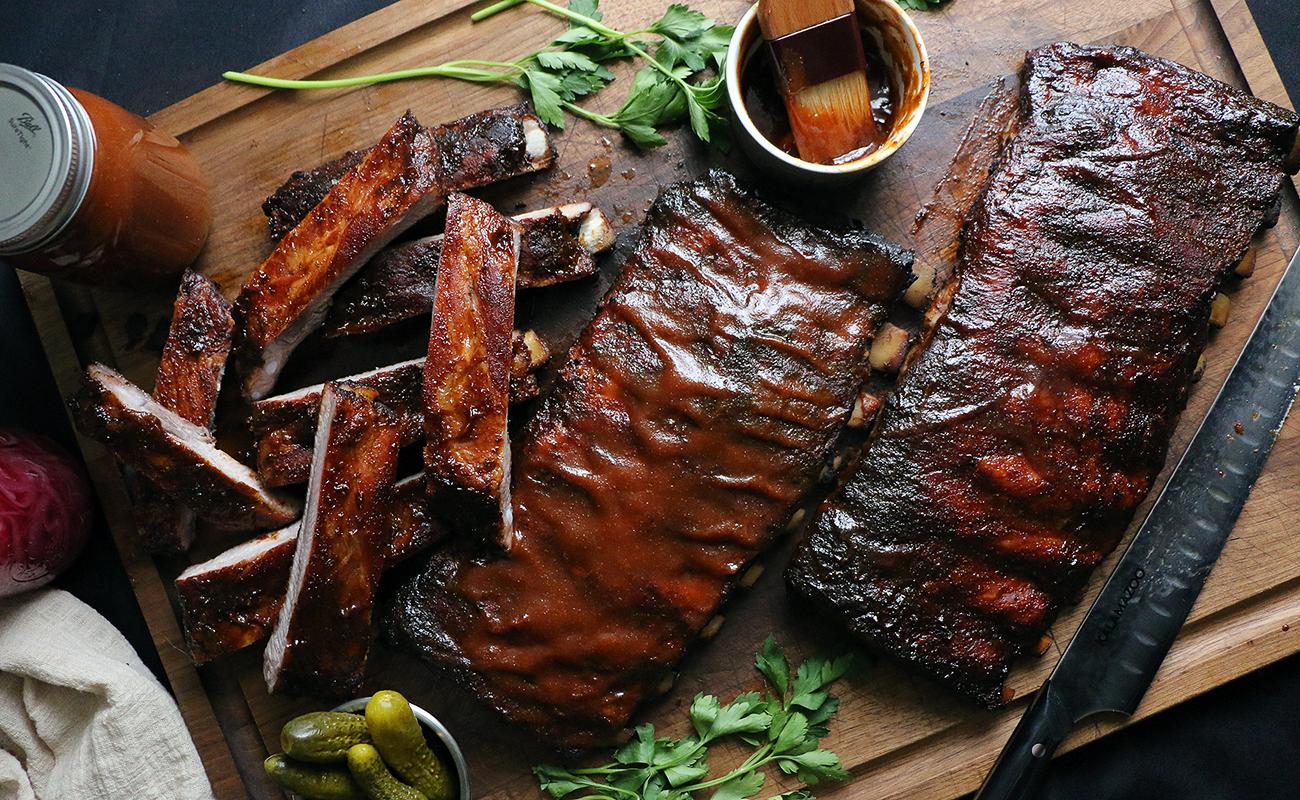
Cooking low and slow is especially beneficial for larger cuts of meat that are traditionally on the tougher side, such as beef brisket, pork shoulder, beef & pork ribs, or barbacoa. Don’t limit this technique to only those cuts, though. Low and slow cooking is also a perfect way to smoke smaller cuts such as tri-tip, pork belly, fish, poultry and even burgers.
What has generally been a very time intensive style of cooking that required constant attention has been made easy by the Shokunin Kamado grill. Why? Because of the efficiency, insulation and design of this cooker, it’s as close to set and forget as it comes. No more staying up all night tending a fire, reloading your fuel, or needing to spritz the meat every hour to ensure it stays moist.
Below I’ll outline how to set up your Shokunin Kamado grill to ensure success for recipes using a low and slow technique. It’s important to master this process and, if you’re new to the Shokunin cooker, I recommend you do this a couple of times without any food at all. It won’t take long to perfect the process, and doing so without any food allows room to play with vent positioning, charcoal load, recovery time and more, without the risk of ruining any food.
To best understand the behavior of the Shokunin Kamado, note things like how quickly and to what extent a temperature change will happen by simply opening an exhaust vent an extra 10%. Monitor how long it takes for temperature to come down after closing down an exhaust vent that same 10%. Not only does this process allow you to appreciate how the grill performs, but it also allows time for the vents to become seasoned.
The first 10 or so hours of cooking on a brand new Shokunin Kamado grill allow for some build up or seasoning in the vents. This seasoning really aids in precision temperature control. Think of this as similar to seasoning a new cast iron skillet.
RECOMMENDED TOOLS
There’s only minimal equipment needed to master this traditional and iconic style of cooking. In fact, you likely have at least some and maybe even most of this stuff already.
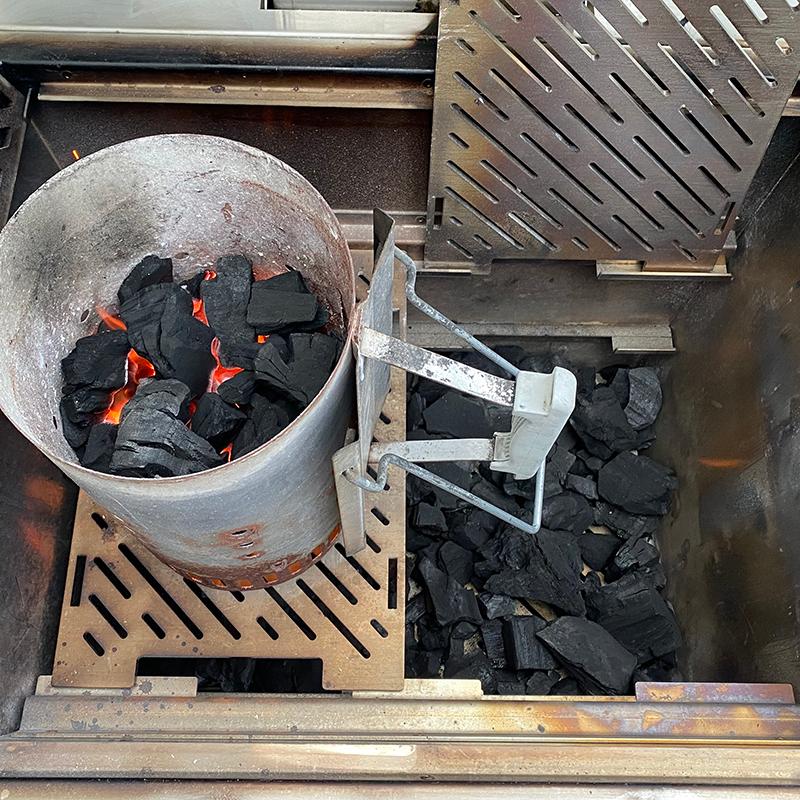
I recommend you have a charcoal chimney. This inexpensive charcoal starter can be used every time you *light your Shokunin grill. It’s also a means of measurement for many recipes as you’ll often hear reference to “1/2 a chimney” or “a full chimney” of quality lump charcoal for grill set up.
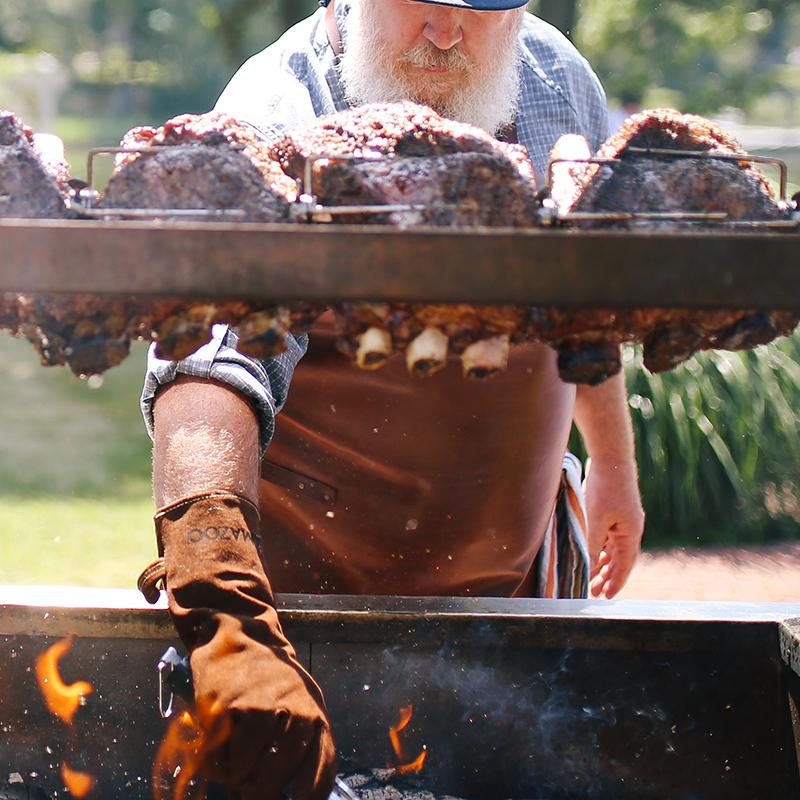
Next, you should have a set of long, leather heat-resistant gloves. These are for your safety and I highly recommend you wear them when dumping the hot coals from your charcoal fire starter into your Shokunin grill.
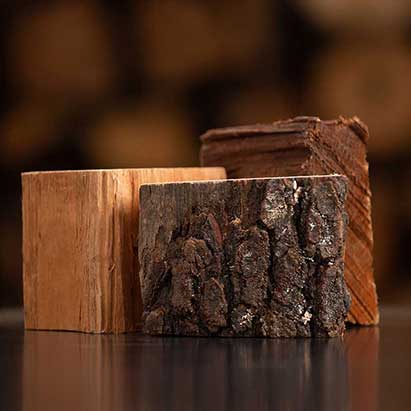
A traditional way to impart flavor into low and slow style cooking is through the use of wood for smoking. You’ll notice many recipes recommend different species of wood, depending on the food being cooked. It’s great to keep a variety of wood on hand.
*A plumber's torch can also be used to light your Shokunin grill following the method outlined here.
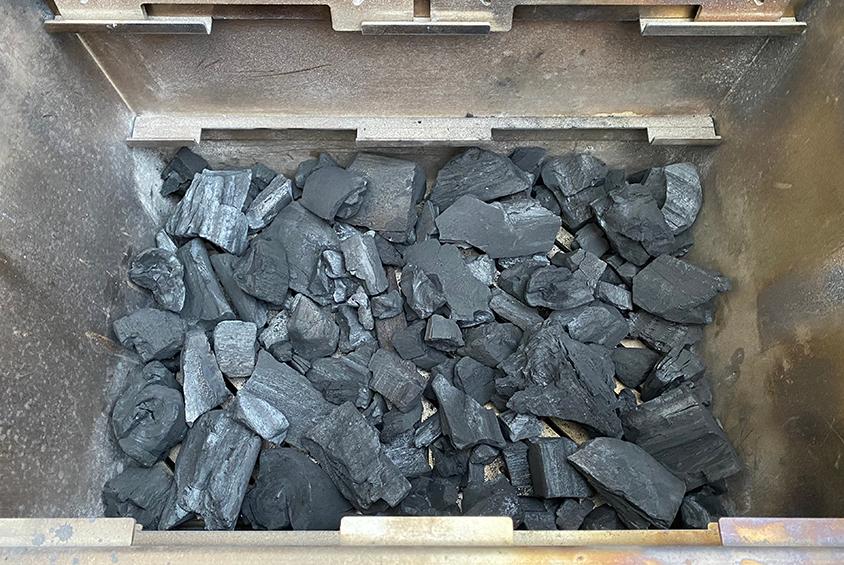
SETTING UP THE GRILL
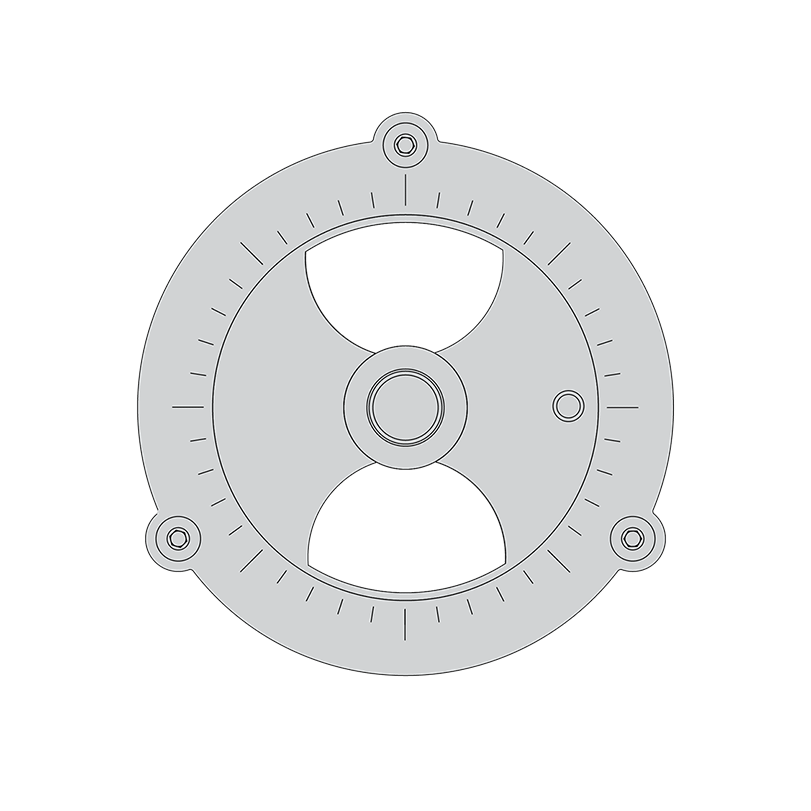 100% open Position the two bottom supply vents on the grill body and the two top exhaust vents on the grill lid to 100% open. For low and slow style cooking, the fire will be built on the main fire grate on the bottom or barbecue position.
Open the cooking grates to expose the first set of adjustable fire grates that should be situated at the middle or roasting position of your grill. Open the adjustable fire grates and dump one whole chimney of lump charcoal on the main fire grate. Spread the charcoal around to evenly disburse it on the grate.
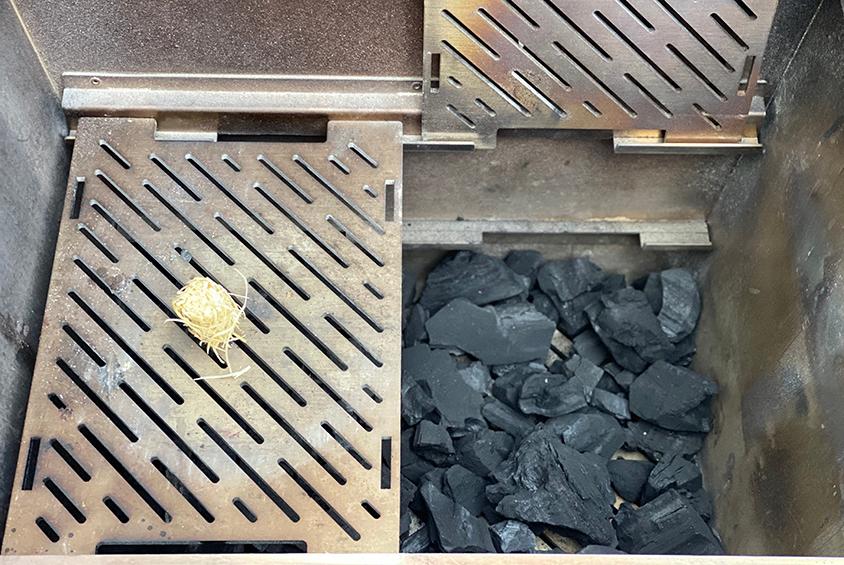
Note: Newspaper can be used in place of one of those fire starters; I recommend either the paraffin cube or tumbleweed as they produce much less ash than newspaper.
STARTING THE FIRE
Close one of the adjustable fire grates; this will be used for your charcoal chimney. On the closed fire grate, place either a paraffin cube or tumbleweed fire starter.
Fill your charcoal chimney ½ way with quality lump charcoal. Light fire starter.
Allow charcoal to ash over into glowing hot embers, this will take about 15 minutes.
Place the chimney over top of burning ignition source.
While wearing heat-resistant leather gloves, pick up the chimney by the handle and using the grate lifting tool, open the grate that the chimney was sitting on. Gently pour hot coals along the left and right side of the unlit charcoal bed. This allows the initial heat to surround the food that's being cooked and gently introduces heat directly under the food as the fire spreads over the length of the cook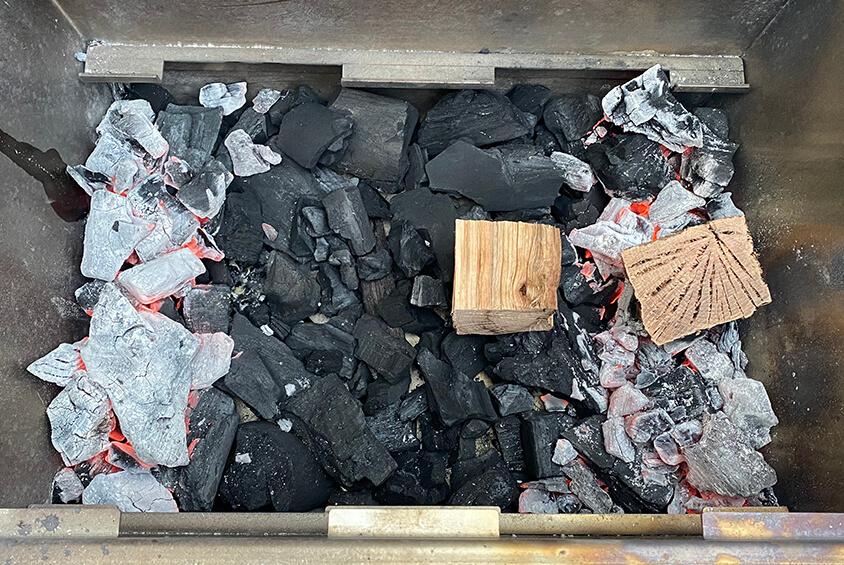 .
.
For added flavor on low and slow cooks, try adding some wood chunks. On top of the hot coals on one side of the grill, place one wood chunk. Next to that wood chunk, but on top of unlit coals, place a second chunk of wood. Note which side of the grill you placed the wood chunks as this will dictate vent adjustment steps. The species of wood recommended will depend on that you’re cooking. Each of our smoked recipes will include a recommendation for wood species.
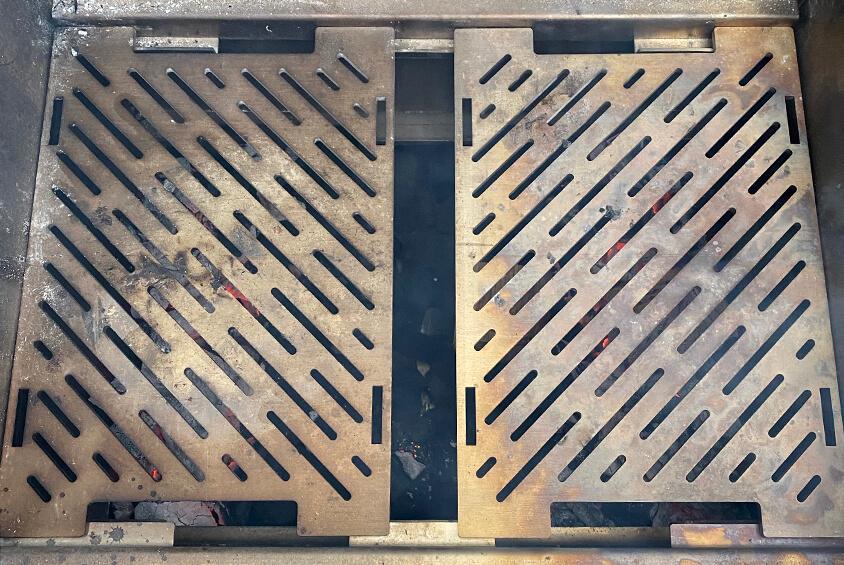
Return the adjustable fire grates to the down position in the outermost orientation, leaving a gap between the two. Because the initial heat source is coming from the far left and right sides of the grill, positioning the adjustable fire grates like this helps with even heat disbursement and displacement.
Return the cooking grates to the down position and close the grill's lid. Monitor your grill's temperature till it reaches approximately 85% of desired cooking temperature. So for example, if your desired cooking temperature is 225°F, you’ll want to start adjusting your vents at about the 190°F mark. This allows your grill to gently coast up to the desired cooking temperature without overshooting it.
Vent Adjustments
In order to induce a cross draft environment for smoking, completely close one side of the bottom (supply) vents. The other side, the side with the *wood chunks, should be positioned at about 30% open as indicated by the hash marks around the circumference of the vent. Further adjustment of the supply vents is rarely needed for low and slow cooking.
*It doesn’t matter which side of the grill you choose to place your wood chunks, only that you adjust the supply vent to 30% open on the same side.
For the top (exhaust) vents, you will completely close the vent on the opposite side from the closed supply vent. The other top vent should be adjusted to between 10% to 20% open.
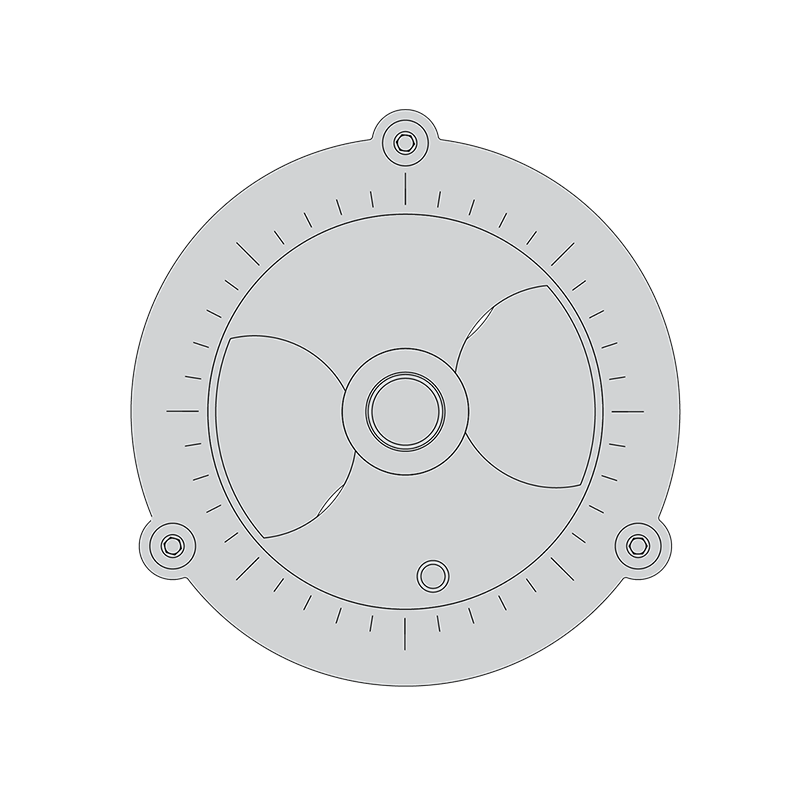 10% open
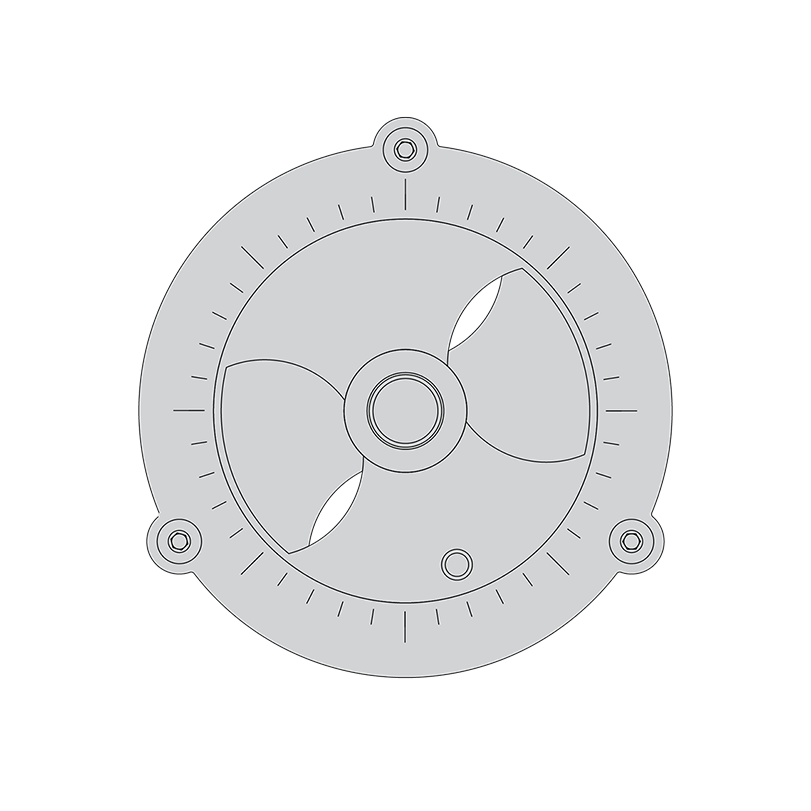 20% open
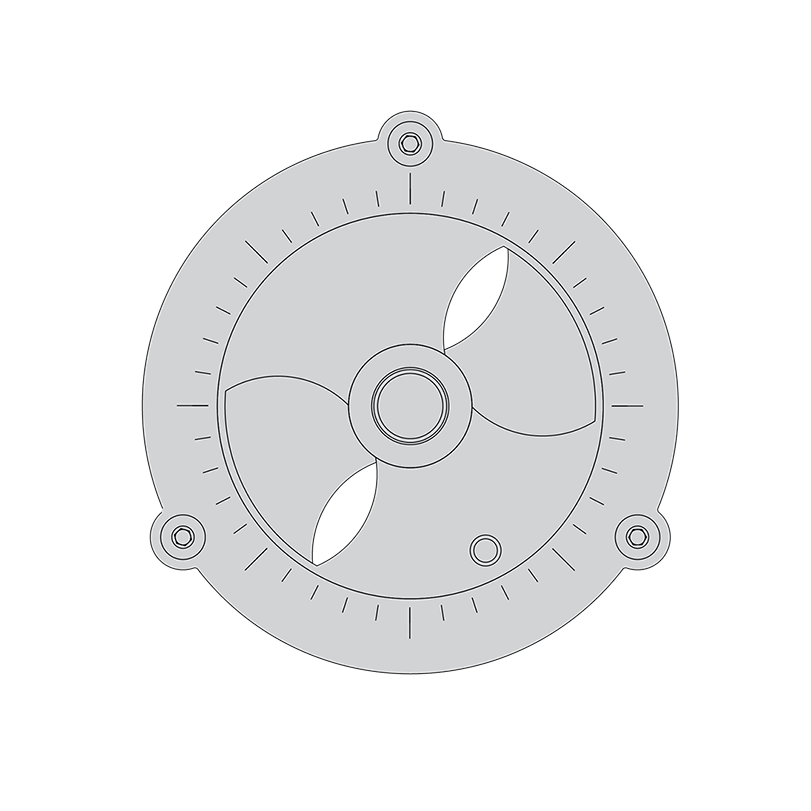 30% open
The percentage you leave the top vent open will depend on the desired cooking temperature, and some environmental factors such as wind speed. Monitor and fine tune the adjustment of the single exhaust vent as grill temperature closes in on the desired cooking temperature.
 10% open
 20% open
Once you have the vent dialed in, (somewhere between 10% and 20% open), you won’t need to make many adjustments to that vent. The Shokunin is incredibly efficient and amazingly stable once you have your desired temperature dialed in, this is why I say this grill is essentially set and forget. Your grill is now set up for low and slow cooking
LOW AND SLOW COOKING TIPS
Patience
Around the 150°F (plus or minus 10°F) internal temperature of the larger cuts of meat, you are likely to see the internal temperature stagnate, sometimes for an hour or more. This is normal and is referred to as the “stall.” Be patient, it will eventually push through.
At the point of the stall, it’s acceptable to wrap your meat tightly in either aluminum foil or peach butcher paper and return to the grill. This isn’t necessary but will help push through the stall more quickly. It’s a matter of personal preference as both methods have their advantages and disadvantages. For example, wrapping will help push the food through the stall quicker, but will also affect the “bark” or browning that forms on meat after a long low and slow cook. Again, this is a matter of personal preference.
Meat Positioning
Positioning of the meat, fat side up or down? It’s always best to put the fat cap towards the source of the heat. Intuitively you might think that means fat side down which is the case in a more traditional round shaped cooker. In the Shokunin, the shape of the lid, the distance between the food and the coals on the fire grate at the barbecue position, and how we have set up the fire - the higher heat is going to be coming from the top of the cooker down onto the food, so place the fat cap of the food facing up in the center of the cooking grate.
Timing
It’s always best to cook with a goal of achieving a desired internal temperature as opposed to a length of time. That said, for planning purposes on the bigger cuts of meat, you should plan for roughly 2 hours of cook time per pound of meat.
Charcoal Burn Time
As mentioned, one of the great benefits of the Shokunin is its efficiency. The 1.5 chimneys of lump charcoal in this guide will easily run the Shokunin at 225°F for 22 hours; more than enough time to turn out even the biggest of beef briskets. No more getting up in the middle of the night and struggling to add fuel to your grill.
Charcoal Loading
If you find yourself getting towards the last part of a bag of charcoal, don’t dump it in the grill. The bottom of any bag of charcoal will contain at least a cup or so of charcoal dust. This is normal with any charcoal. That dust will clog up the fire grate vents and affect air flow. When the bag is almost empty, use a pair of long tongs to grab any usable pieces and place them in the grill before discarding any tiny unusable pieces and dust.
Adjustable Height Fire Grates
The Shokunin was designed to leave the adjustable fire grates (used for baking and roasting) inside the grill even when using the grill as a smoker. The grates not only help with heat deflection, but more importantly as mass to store heat energy. The hot adjustable grates help with grill temperature recovery time when the lid has been opened. So, leave those inside the grill even when they aren’t being used for charcoal.

