

Guide for Smoking a Turkey on the Shokunin
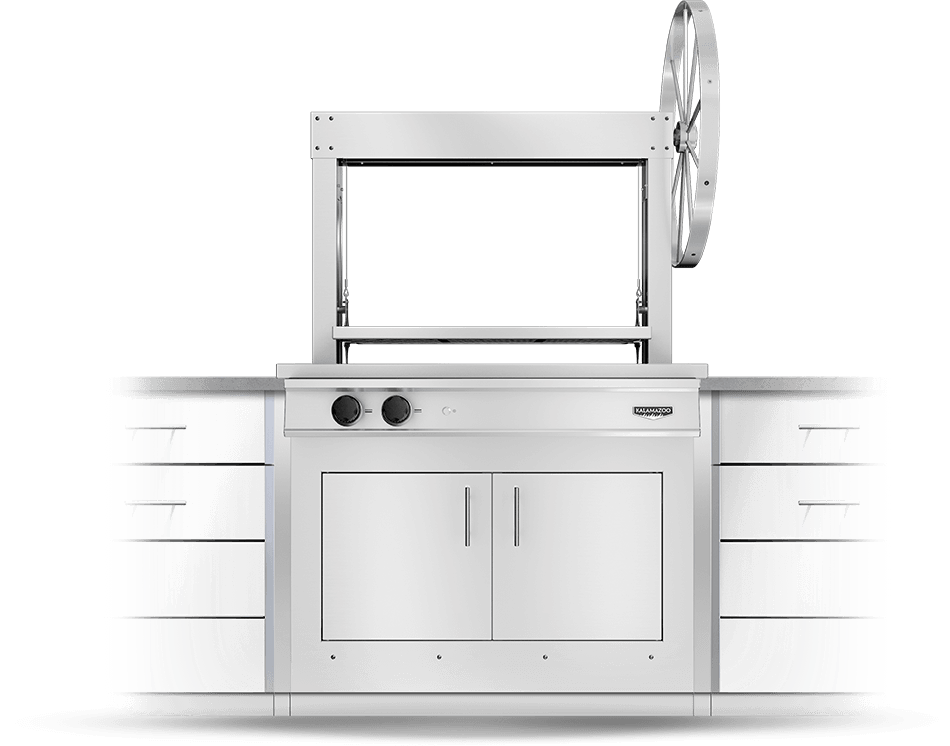
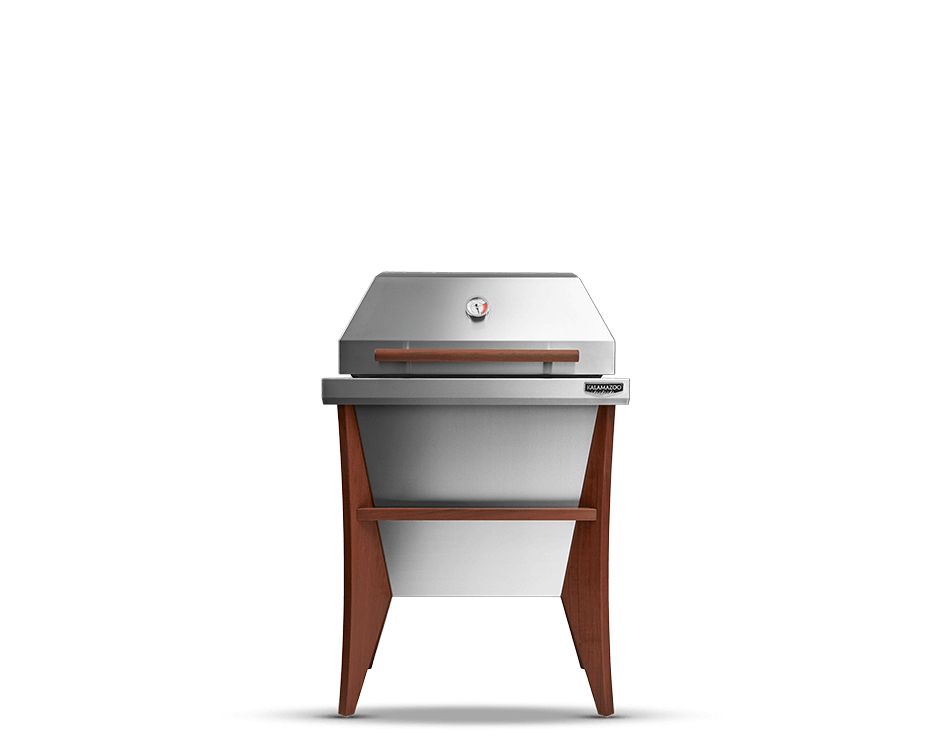
Cooking on the Shokunin Kamado Grill will transform your charcoal cooking experience. Three different levels of fire grates allow you to build the fire closer or further away from your food to maximize your cooking possibilities.
This guide walks you through the steps for smoking a turkey based on our White Wine Brined, Smoked Turkey recipe. Please reference this recipe where appropriate throughout this guide for more specific ingredients and steps.
November 06, 2020
Choosing Your Turkey:
The lid of the Shokunin Kamado Grill has 10.5-inches clearance to the cooking grate on the inside. For this reason, a small turkey is recommended for cooking. An 11 pound turkey is less than six inches tall, and is a perfect size for cooking in the Shokunin.
Setting up the Grill:
Prepare the grill by positioning the main fire grate at the lowest fire position. Load with a generous amount of hardwood lump charcoal mixed with large chunks of apple wood. Position the adjustable fire grates at the highest fire position (above the charcoal) and flip them up toward the back of the grill while you light the fire. Then open all four control vents to the 100% open position.
Lighting the Grill:
Light the center of the top of the charcoal in a single spot using a plumber’s torch or a paraffin fire starter. Make sure you have a good start in that one spot, then carefully lower the adjustable fire grates so they are set in the upper position above the fire. These will hold your drippings pan during the cook. Leave the lid open for five minutes while the fire grows.
After five minutes, carefully lower the cooking grates into position and close the lid, leaving all four control vents wide open while the fire builds.
Getting the Grill to the Right Temperature:
Target smoking temperature is 275°F so make sure you monitor the temperature closely (see note below about wireless thermometers).
When the temperature inside the grill reaches 200°F, close the exhaust control vents (on the grill lid) to 50% open and the supply vents (towards the base of the grill body) to 70% open. When the temperature inside the grill reaches 250°F, close the exhaust control vents to 10% open, and the supply vents to 20% open. Monitor the temperature, and adjust the vents as needed to hold steady at 275°F. Once the grill has stabilized at 275°F for 15 minutes or more, prepare to place the turkey in the grill.
Cooking Your Turkey:
Working quickly so as to minimize the time the grill lid is open, carefully flip up one of the cooking grates using the grate lifter tool. Place a pair of stacked (one nested inside the other) 12x9-inch disposable aluminum roasting pans centered on the adjustable fire grates inside the grill above the fire.
Pour the liquid into the pan (white wine and chicken stock per recipe) then add the garlic and rosemary. Lower the cooking grate back into position, close the lid and get the turkey.
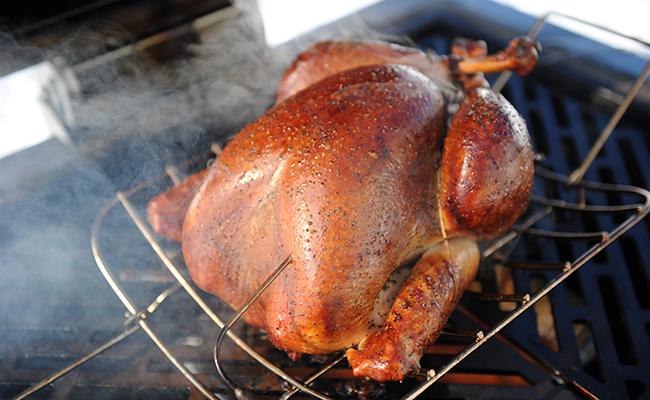
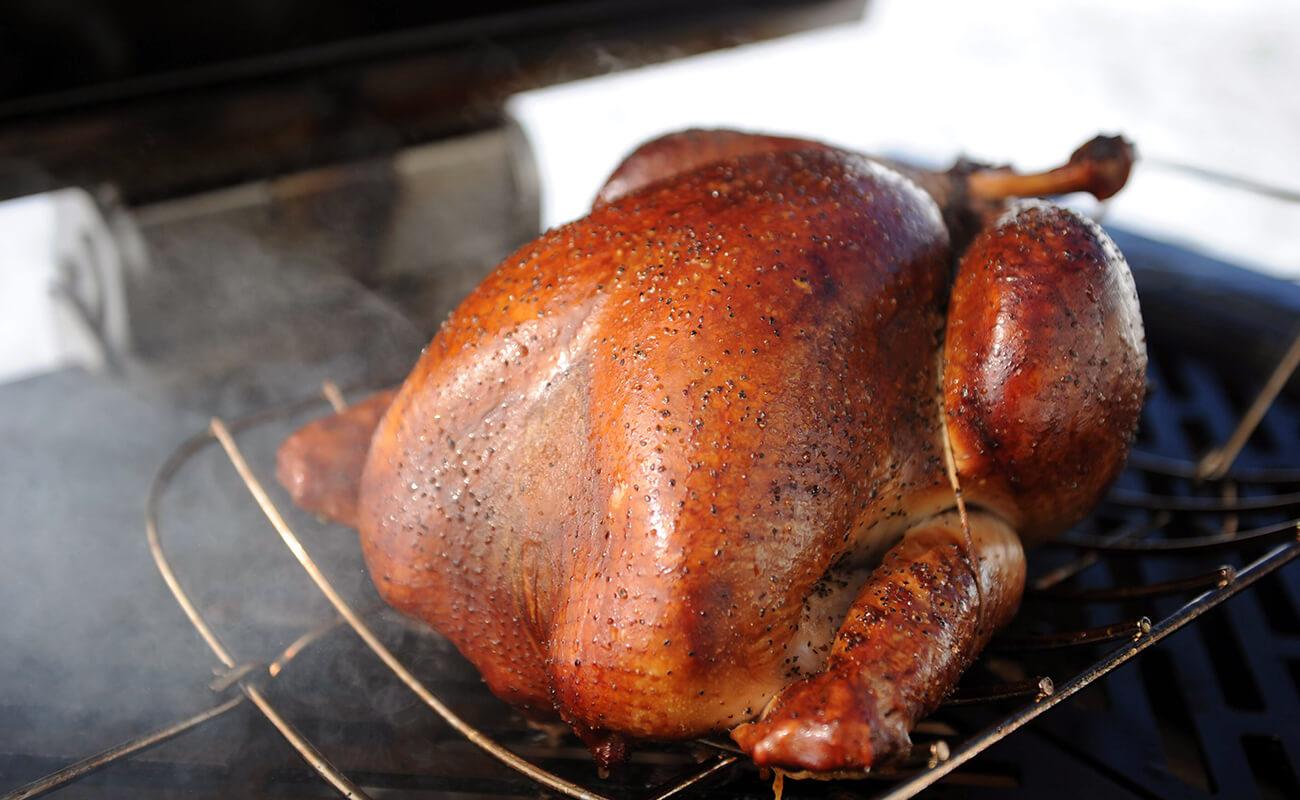
Place the turkey in a low profile roasting rack, and then place the rack and turkey into the grill, directly on top of the cooking grates. Close the lid. Allow the turkey to gently smoke until the internal temperature is 165°F, measured at the thickest part of the thigh and the breast.
Cooking time should be about 3 ½ hours. A steady temperature inside the grill will result in a beautifully browned turkey.
If you experience any temperature spikes while cooking, check the appearance of the turkey every 30 minutes after the first 120 minutes.
If the skin on the breast is browning too quickly, loosely cover with foil and continue cooking.
Remove turkey from the grill to rest when finished.
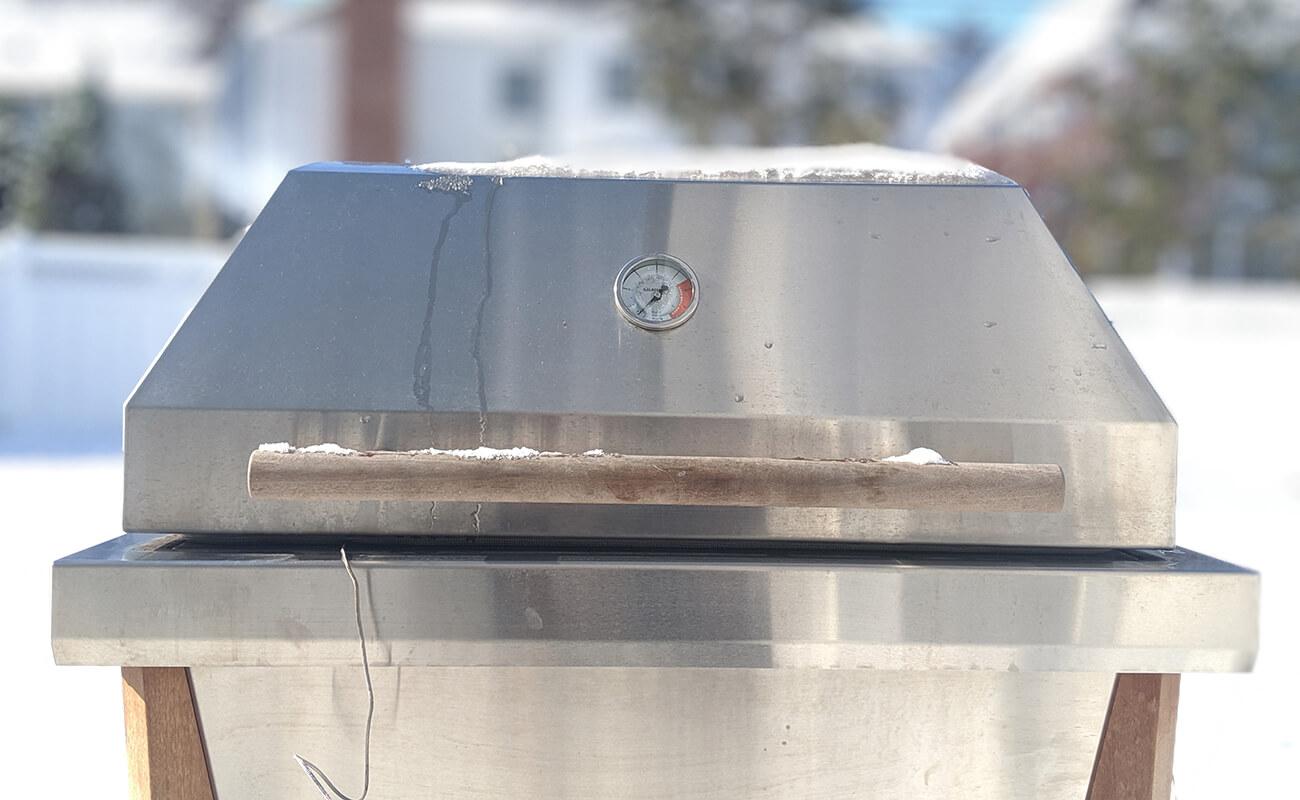
A note from our Grillmaster Russ Faulk on wireless thermometers:
It was 9°F outside when I started the cook upon which this guide is based. I don’t want to stand outside in the frigid air more than necessary, so I used a wireless thermometer to monitor the temperature of the grill and the bird. I recommend the Signals™ thermometer by ThermoWorks. It is powered by rechargeable batteries, can use four different temperature probes at the same time, and connects via both WiFi and Bluetooth for convenience.
I setup the unit with an air temperature probe inside the grill, and a meat probe for inside the turkey. It is important to keep the air probe away from the food, so I positioned it in the back corner of the grill. The included clip places the probe about an inch above the cooking grate for accurate readings. Once the turkey is cooking, I can monitor both the grill and turkey temps from the comfort of indoors.